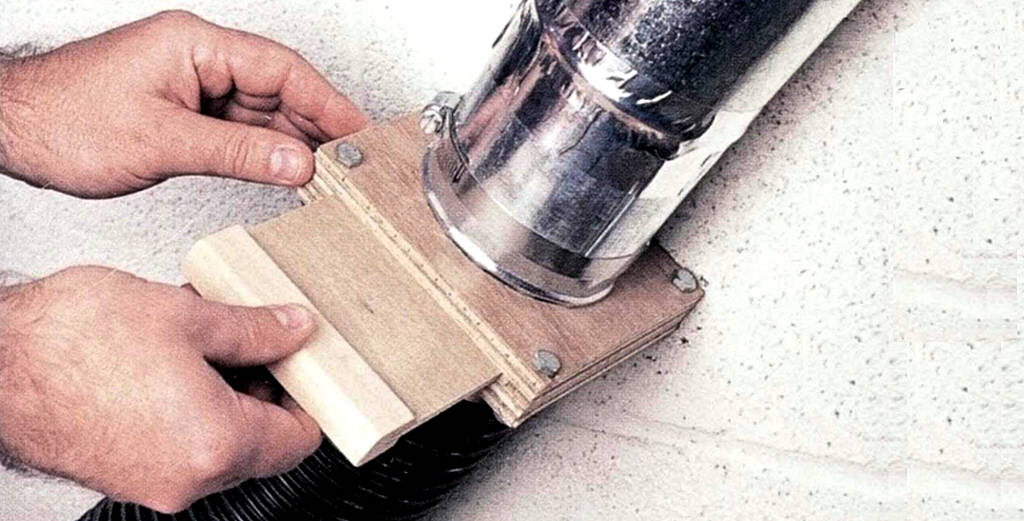
If the average metal 4″ blast gate costs around $10, why would you bother making one? If you need only one, it’s probably not worth it; but if you need enough to hook up all the machines in your shop, say 8 or 10 tools, it starts to make financial sense. The shop-made blast gate shown here is easy to make and lends itself toward a production run. Although I did use metal collars for the inlet and outlet ports, you could epoxy in pieces of PVC pipe—they’re just not as sturdy as the collars.
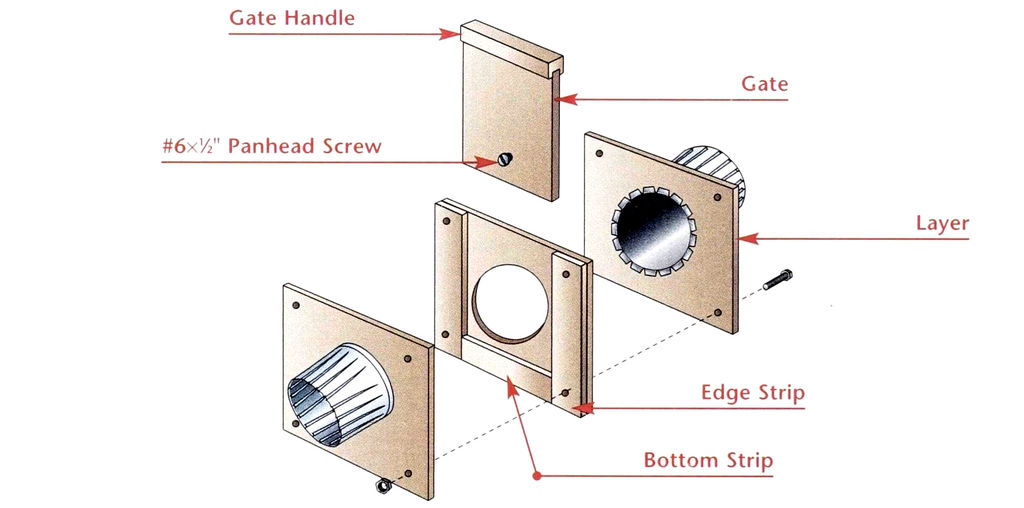
The blast gate consists of five layers of 1/4″ plywood: Four of the layers have a 4″ hole cut in them (see the Exploded View below). Air control is provided by way of a plywood gate that fits into a U- shaped middle layer. A scrapwood handle makes it easy to open and close the gate, and a panhead screw prevents the gate from being pulled all the way out.
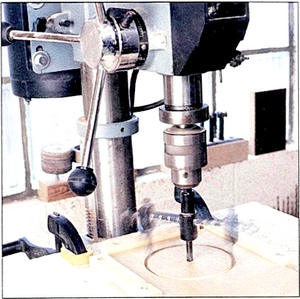
Cut the holes. The holes in the plywood layers can easily be cut with a circle cutter. Since you’ll most likely be making a number of blast gates, it’s worth the effort to build a simple drilling jig like the one shown in the photo to hold the pieces securely on the drill press table.
A double-wing-type circle cutter works best, as the cutting load is split equally by both cutters. Make sure to clamp the piece in place and keep your hands away from the cutter as you cut out the holes.
Assemble the unit. To assemble a blast gate, start by gluing strips to the middle layer to form a U-shape. When the glue is dry, insert the metal collars, bend the tabs back, and stack the layers together. Then use clamps 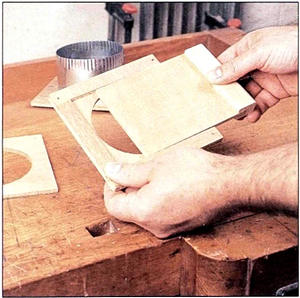 to hold everything together while you drill holes in each corner for bolts that hold the blast gate together. Thread nuts onto the bolts, and tighten them just enough to hold the unit together while allowing the gate to slide in and out easily.
Shop Tip: Gluing a layer of kraft paper to the strips after they’re in place will create additional clearance to help the gate move in and out smoothly.
Attach to ductwork. Attaching a shop-made blast gate to your ductwork is simple. Just insert each crimped end into the ductwork and secure the gate 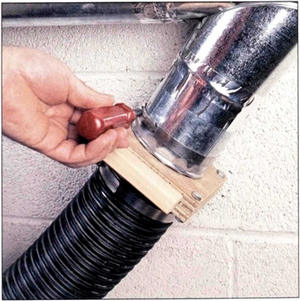 with hose clamps (as shown), metal tape, and sheet-metal screws or blind rivets. Apply a bead of silicone caulk around each metal collar to prevent leaks.
Orient the unit so that the gate is conveniently located, and test the operation. If the gate binds or leaks air, loosen or tighten the assembly bolts as needed.

