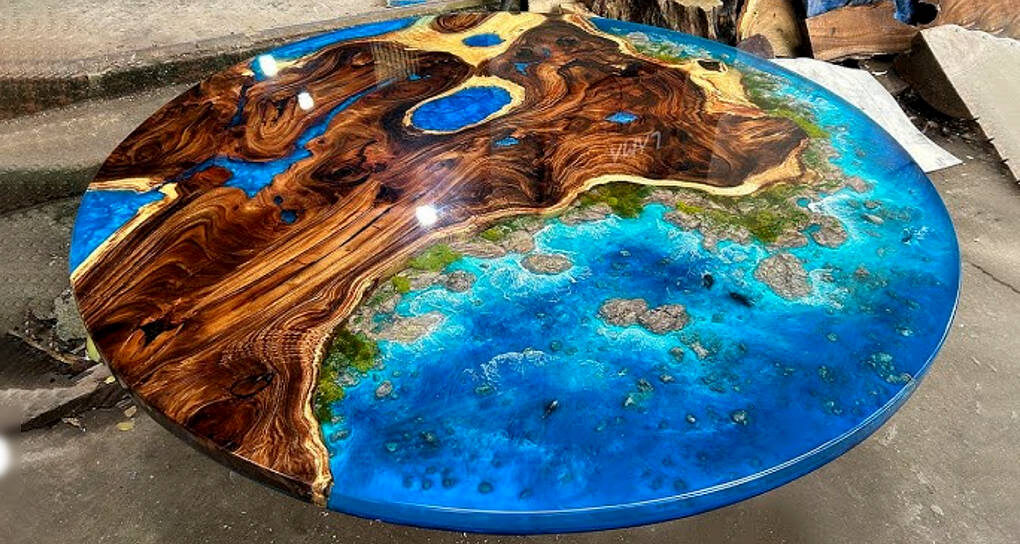
Dreaming of capturing ocean vibes in your art? An epoxy resin sea might be the perfect project for you. This guide breaks down everything you need to know, from tools to techniques, to create breathtaking designs that stand out. Let’s dive in and explore the magic of epoxy resin.
Epoxy resin is a versatile art material that artists love for its glassy finish and endless creative possibilities. Whether you’re making seas, coasters, or unique decor pieces, resin offers a way to craft items that are not only functional but also visually impressive.
Why the Sea Theme is So Popular in Resin Art
There’s something universally calming about ocean-inspired designs. For those living in gray cities, the vibrant blue hues and lapping waves offer a refreshing escape. Resin allows artists to recreate these scenes, giving any living space a touch of serenity. But beyond seas, epoxy resin serves as the foundation for diverse projects like:
- Candle holders
- Jewelry trays
- Cutting boards
- Coasters
You can customize these pieces in any way you want. But today, we’re sticking to how you can recreate the beauty of the sea.

Tools and Materials You’ll Need
Preparation is key when working with epoxy resin. Here’s a complete list of what you’ll need for this project:
Tools
- Wooden or plastic spatulas for mixing and spreading resin
- Heat gun or construction-grade hair dryer for creating foam and removing bubbles
- Masking tape for protecting the underside of your work
- Measuring cups (100 ml and one large batch cup) to divide your colors
- Torch or lighter to pop air bubbles
Materials
- Epoxy resin (choose a thick viscosity resin for better control). Resin typically mixes two parts resin to one part hardener.
- Pigments (specialized for resin)—blue, white, and beige for sand and ocean gradients.
- Protective gloves to avoid direct contact with resin.
- Film or paper to protect your workspace.
- Sandpaper or polishing tools for finishing touches.
- Optional: natural decorations like shells, sand, and moss for additional design depth.
Make sure your working environment is clean. Dust and pet hair can stick to resin, ruining the finish. Work in a well-ventilated area, and use a respirator mask to minimize exposure to fumes.
Prepping Your Surface
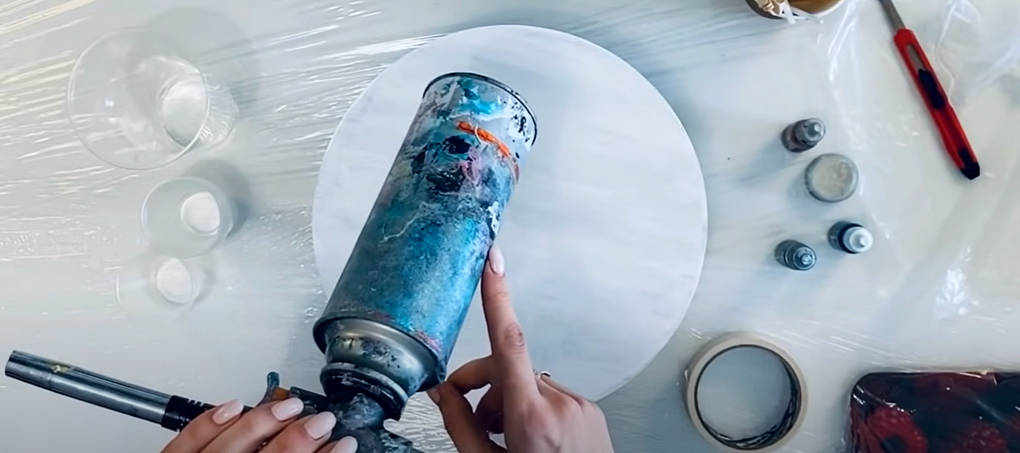
To work on your resin masterpiece, you’ll need a base. For this tutorial, a round wooden board is the preferred canvas, but you can choose any shape or size. Here’s how to prepare:
- Prime the Surface: Apply a layer of interior paint (white works best). Avoid cheap paints that take too long to dry.
- Protect the Back: Cover the back of your piece with film or painters tape to catch any stray resin drips.
- Secure the Edges: Tape along the edges to create a small “pool” to contain the resin while it’s still liquid. Ensure there are no gaps where resin might leak.
- Level the Base: Use a leveling tool or phone app to make sure your surface is perfectly flat.
Once your base is primed and taped, let it dry for at least five minutes. This ensures the resin will adhere smoothly.
Mixing and Coloring Resin
Now, the fun part—mixing resin! Epoxy resin comes as two components: resin and hardener. Mix them in a 2:1 ratio, or follow the instructions on your product’s label. Here’s how to do it:
- Mix Thoroughly: Combine resin and hardener in a large cup. Stir for 3-4 minutes, scraping the sides and bottom to ensure even consistency. Bubbles will form; don’t worry—you’ll handle those later.
- Divide into Cups: Pour your resin into smaller cups for coloring. Assign each color to its own cup.
- Add Pigments: Add colors drop by drop. For sand, go with beige or light brown. Use blue hues for the water, transitioning to darker shades for ocean depth. Add white pigment for foam. Always test colors on the cup’s edge to see their transparency.
Layering the Sea
Here’s where your creativity takes over. The goal is to mimic the natural gradient and waves of the ocean.
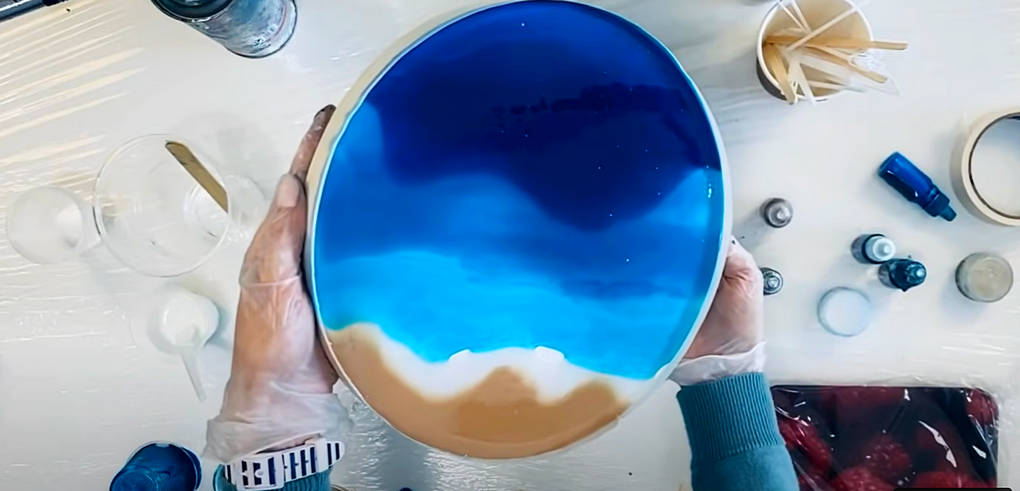
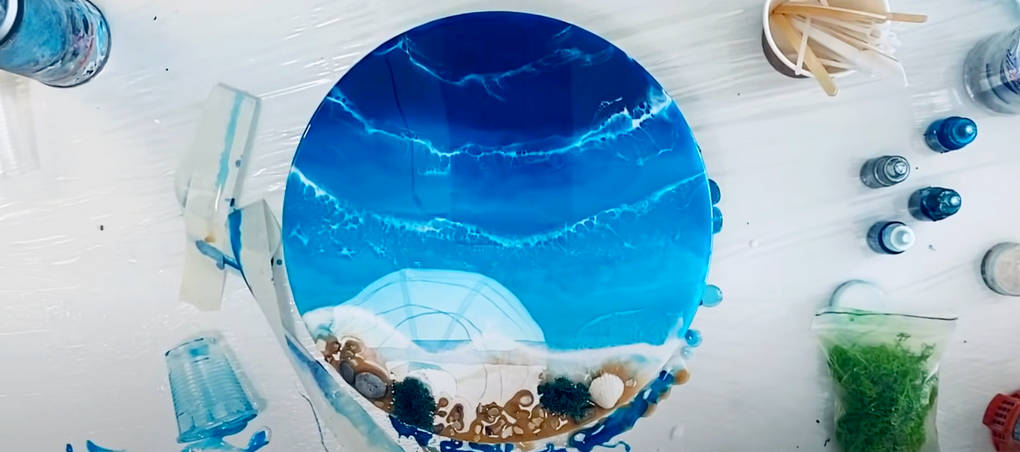
- Sand Layer: Start from the edge of your base. Pour the beige resin to represent sandy shores. Tilt your base slightly to spread the resin uniformly.
- Light Blue Zone: Pour the lightest blue shade next to the sand. Let some of the resin overlap the sand slightly for a blended effect.
- Deep Water: Gradually add darker blues, creating a gradient as you work toward the board’s center.
- Add Transparency: Leave a small gap of unmixed resin between the sandy shore and water zones to prevent muddy colors.
Creating Waves with White Foam
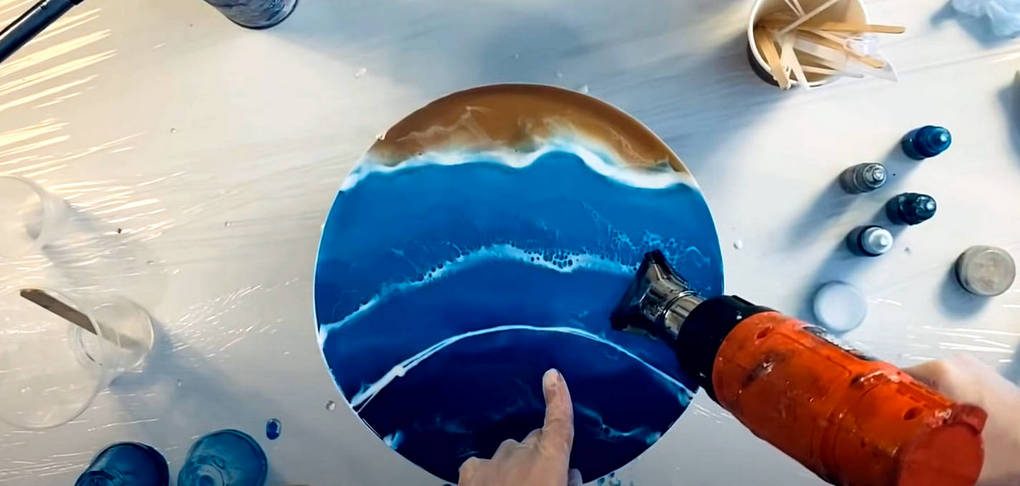
White foam gives motion and life to your resin ocean. For this step:
- Take your white resin and carefully add thin lines across the blue shades.
- Use a heat gun or hair dryer to gently push the foam over the blue zones. Move steadily to stretch the foam into natural wave shapes.
- Step back and assess. You can reapply white foam to enhance depth or create multiple layers of waves.
Final Touches: Decorations and Finishing
Want to add realistic beach vibes? Incorporate shells, stones, and decorative moss near the sand. Gently press them into the semi-hardened resin. This step personalizes your design and adds texture.
Once the resin sets for about 24 hours, remove the tape and sand the underside to smooth out any drips. For extra polish, you can apply another thin resin coat for a flawless finish.
See more ideas on pouring with epoxy resin here.
Tips for Success
- Work at room temperature (around 22°C). Resin behaves poorly in hot or cold environments.
- Don’t rush. Resin has a 40-minute working time, so move strategically.
- Wear a respirator mask, especially when using a heat gun.
Avoid Common Mistakes When Working with Resin
Conclusion
Creating a sea with epoxy resin combines creativity with technical skill. Although the process takes practice, the results are always unique. Whether you’re a beginner or an experienced artist, resin allows you to capture the magic of waves and sandy shores in a way that’s timeless and versatile.
Ready to bring coastal beauty into your home? Grab your materials, follow these steps, and start crafting your stunning resin seas today! The ocean is waiting—right on your art board.

