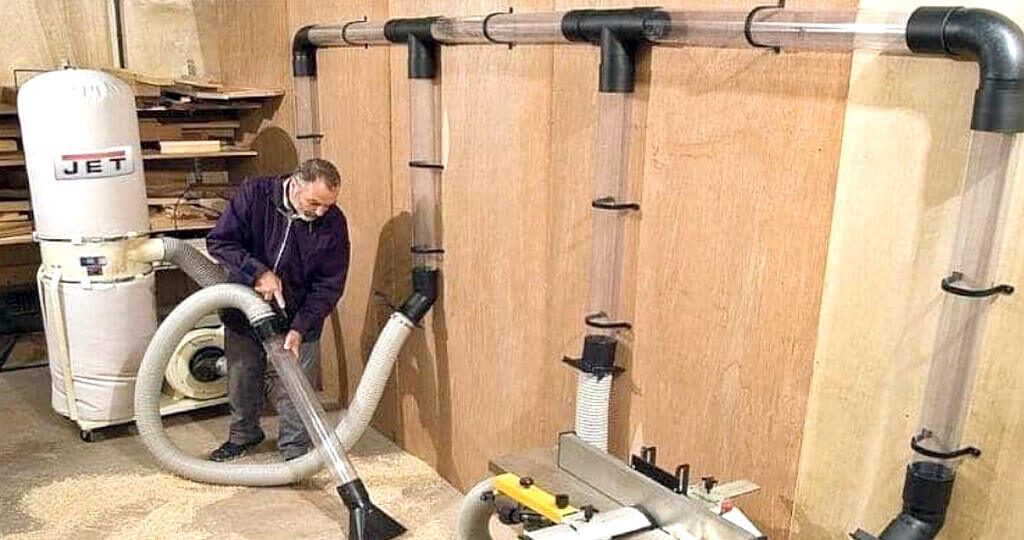
The dust collection systems that most woodworkers use are designed to collect dust and chips from only a single tool at a time where the airflow is controlled by blast gates. Since many shops have tools clustered together, the standard solution is to create some sort of vertical drop made up of 45-degree wyes and blast gates. If you’ve priced quality 45-degree wyes, you know that this can be an expensive proposition.
An inexpensive alternative is to make the multiport tower shown in the photo below. Although not the most streamlined-looking device, it does the job and it’s inexpensive to make. The tower shown here features four ports controlled by shop-made blast gates (see pages 86-87 for detailed instructions on how to build these), three angled ports on the side, and one straight-through port on the bottom. You can easily modify it to suit your needs by adding or subtracting ports.
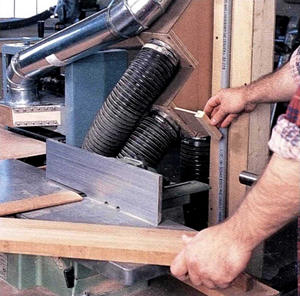 Vertically stacked 45-degree wyes. The multiport tower is basically a wooden version of metal 45-degree wyes stacked vertically with blast gates controlling the airflow.
Granted, you’ll lose some collection efficiency inside the tower since the walls are square, instead of round as in rigid pipe. But as the overall length is fairly short, the losses don’t add up to much. The critical thing is that the branches enter the tower at 45 degrees and not 90 degrees.
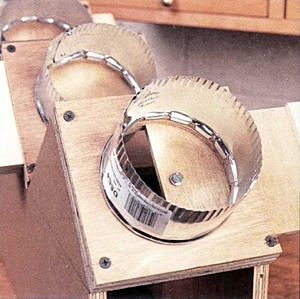 Shop-made blast gates. If you remove the sawtooth-shaped sides of the multiport tower and the plywood top, back, and front covers, all you’re left with is four shop-made blast gates— it’s really that simple to make. The only difference between these gates and those shown on page 86 is that these have only four layers instead of five—the last layer isn’t necessary since the gate attaches directly to the tower.
Here again, it’s a good idea to install a panhead or hex-head screw in each gate once it’s installed to prevent it from being pulled all the way out.
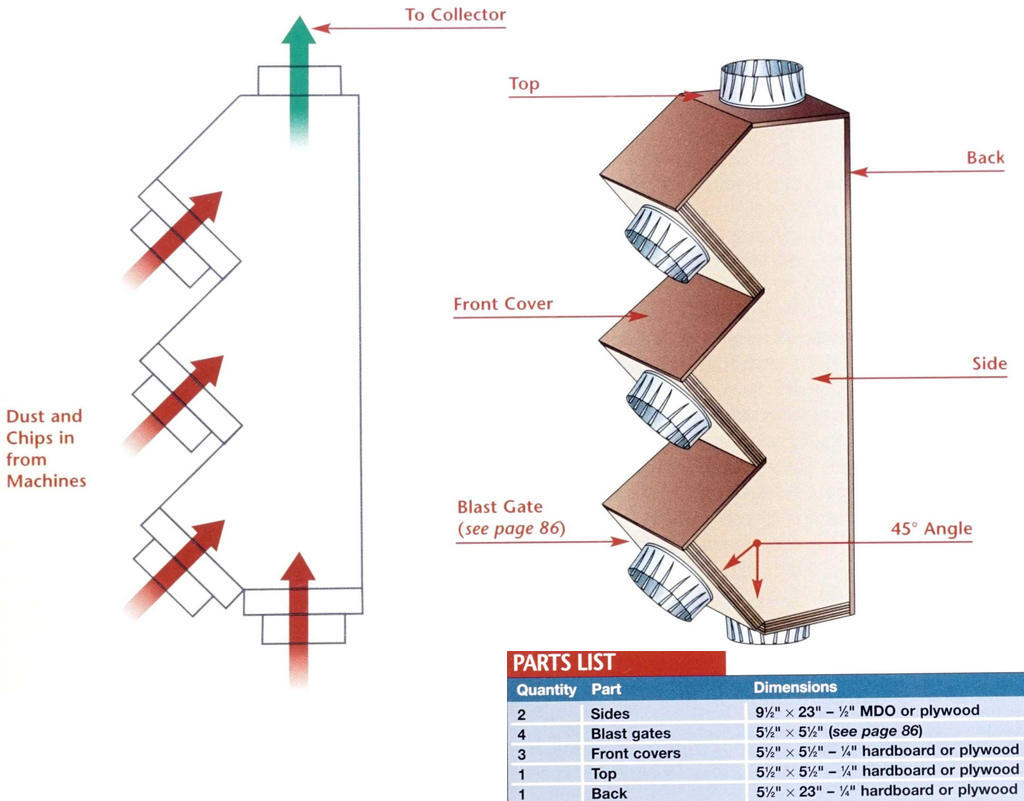
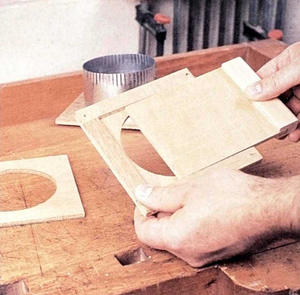 Assemble the blast gates. Each shop-made blast gate for the multiport tower is made up of four layers: The first two layers form the dust port, and the third and fourth layers make up the gate. The third layer consists of three strips forming a U-shape that accepts the gate. Instead of being held together with nuts and bolts, the layers are screwed directly to the sides of the tower (see below).
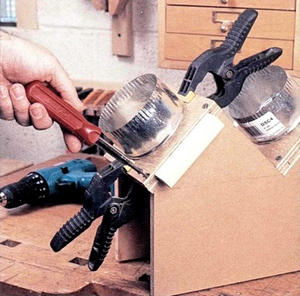 Assemble the tower. After you’ve made the blast gates you’ll need, you can lay out and cut the sides to shape. I used MDO for the sides because it’s rugged, smooth, and great for laying out complex shapes. I cut the shape out on the band saw, but a saber saw will work just fine. Use a pair of clamps to hold one of the blast gates together, position it on the sides of the tower, and screw it in place. Repeat for the other gates, and nail or screw on a top and back. Then seal all the joints with silicone caulk.
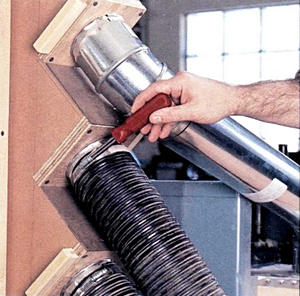 Attach hoses. All that’s left is to attach flexible hoses or rigid pipe to each of the ports in the tower with hose clamps, metal tape, and sheet-metal screws or blind rivets.
Whenever possible, it’s best to run rigid pipe, to reduce drag and to convey the chips and dust to the collector as efficiently as possible (note the rigid pipe running to the planer).

