Sanding epoxy resin to achieve a smooth, polished finish requires patience and the right technique. Start with 120-grit sandpaper to tackle rough areas, then gradually work your way to finer grits like 180, 240, and 400. For an ultra-smooth finish, wet sand using 1200-grit sandpaper, which reduces dust and creates a polished surface. Always wipe away debris between stages to avoid scratches. Skipping grit levels or rushing the process can leave noticeable marks, so take your time and follow a steady progression.
Epoxy resin comes in two key forms: casting resin and coating resin. Casting resin cures slowly, offering a clear and less brittle finish, ideal for molds and thick pours. Coating resin cures quickly, making it perfect for thin, glossy layers. Understanding the resin type helps you plan your approach to sanding and finishing.
Temperature and humidity play a big role in curing. Aim for around 70-75°F with moderate humidity to prevent bubbles or cloudiness. Mix the resin properly, like you would a pancake batter, to avoid imperfections that might require heavy sanding later.
When sanding, start with coarse grit (60-80) to handle bumps, then move to medium (220-400) for smoothing. Finish with fine grit and wet sanding for that polished look. While it takes effort, the shiny, professional finish makes it all worthwhile.
Picking the Right Sandpaper
Using the correct sandpaper is key to achieving great results. Start with coarse grit like 60-80 to remove bumps or imperfections, then move to finer grits for a smoother finish. Aluminum oxide sandpaper works well for dry sanding, while wet/dry sandpaper is best for wet sanding since it handles water without breaking down.
Different grit levels create different effects:
- 400-600 grit: Satin finish.
- 800-1000 grit: Semi-gloss.
- 1200 grit or higher: High gloss.
A sanding block helps maintain even pressure, avoiding uneven surfaces. Dry sanding can create a lot of dust, so wear a mask to protect yourself. Wet sanding reduces dust and is best done in circular motions for a smooth, polished surface.
Understanding Grit Levels
Using the right grit level can make or break your sanding job. Start with 60-80 grit for rough patches, then move to medium grit (120-150) to refine the surface. Fine grit (220-400) is your go-to for polishing, while ultra-fine grits (400-1200) take your project to a glossy, professional level. Wet sanding with 400-1000 grit removes scratches and enhances the final finish. Consistency in sanding motion is just as important as grit selection.
Wet vs. Dry Sanding
Dry sanding is great for shaping and removing large imperfections, but it creates a lot of dust. Always wear a mask and sand in a well-ventilated area. Wet sanding uses water to keep dust down and cool the surface, which is ideal for finer grits and smoother finishes. Start with dry sanding to shape your project, then switch to wet sanding for the final polish.
Essential Tools for Sanding
Get your tools ready before starting:
- Sanding block: Helps maintain even pressure.
- Wet/dry sandpaper: Ranges from coarse to fine grit for a flawless finish.
- Dust mask: Essential for dry sanding to protect your lungs.
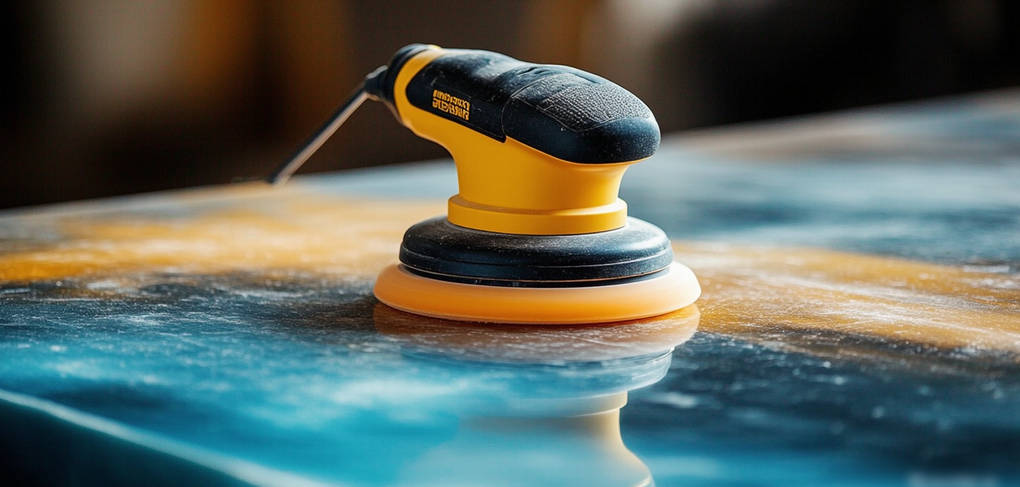
- Power sander: Speeds up work on larger surfaces but can overheat resin if not used carefully.
Set up your workspace with good ventilation, protect your surfaces with mats, and keep your tools organized to work efficiently.
Step-by-Step Sanding Process
- Initial Sanding: Start with 120-grit sandpaper to smooth rough areas. Wipe away dust with a cloth after each pass.
- Intermediate Sanding: Use 180-240 grit to refine the surface further, alternating directions to catch uneven spots.
- Fine Sanding: Switch to 400-800 grit for a smoother finish.
- Wet Sanding: Use 1200-grit sandpaper with water for the final touch. Sand in small, circular motions for the best results.
Common Mistakes to Avoid
- Skipping grits: Jumping to finer grit too soon leaves deep scratches that are hard to fix.
- Over-sanding: Pressing too hard can create uneven spots.
- Sanding too soon: Always let the resin fully cure before starting.
- Not cleaning the surface: Dust or debris can cause scratches and ruin your finish.
Finishing Touches and Polishing
After completing the sanding process on your epoxy resin project, it’s time to focus on the final touches and polishing to achieve a professional, high-gloss finish. Want your piece to shine brilliantly? Here’s how to make that happen.
Start with Quality Materials
Ensure you’re using high-quality epoxy resin and hardener to get the best outcome. Products like UltraClear Table Top Epoxy can enhance the shine and clarity, giving your project a polished, like-new appearance.
Clean the Surface
Before applying polish, make sure the surface is thoroughly cleaned. Dust or debris can interfere with the polishing process, so a spotless surface is essential for achieving maximum shine.
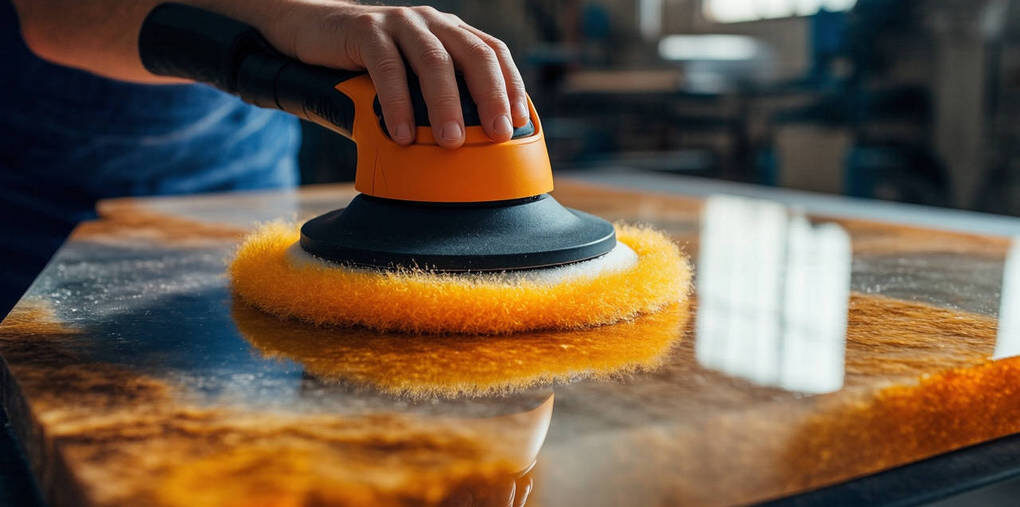
Polish with Compounds
Use polishing compounds specifically designed for resin, such as Novus. Apply them with a soft cloth, working in small sections. Think of it as giving your project a gentle massage to bring out its glossy brilliance.
Follow Product Instructions
Pay close attention to the instructions for any polishing product you use. Every product has unique curing times and application methods. Skipping these details can result in a finish that falls short of expectations.
By following these steps, your epoxy resin project will shine with a stunning, high-gloss finish that’s sure to impress.