If you’re looking to combine creativity with a touch of craftsmanship, making an epoxy resin tray is a fun project. Not only can you personalize it with your favorite designs, but you also get a beautiful, functional piece for your home. In this guide, we’ll walk through the steps to create a crystal-clear tray adorned with dried flowers and butterflies.
Materials Needed
To get started, gather the following materials:
- Squid Poxy Epoxy Resin: This two-part resin comes in a high build and medium viscosity formula for a glossy finish.
- Measuring Scale: For precise measurements.
- Mold: A rectangular mold about 12 inches long or whatever size you prefer.
- Dried Flowers: You can find a variety of real dried flowers online.
- Butterflies: Small craft butterflies for decoration.
- Gold and Copper Foil: For added sparkle and interest.
- Gloves and Mask: Always prioritize safety while working with resin.
- Heat Gun: This helps to pop any bubbles and avoid overheating.
Preparing the Epoxy Resin
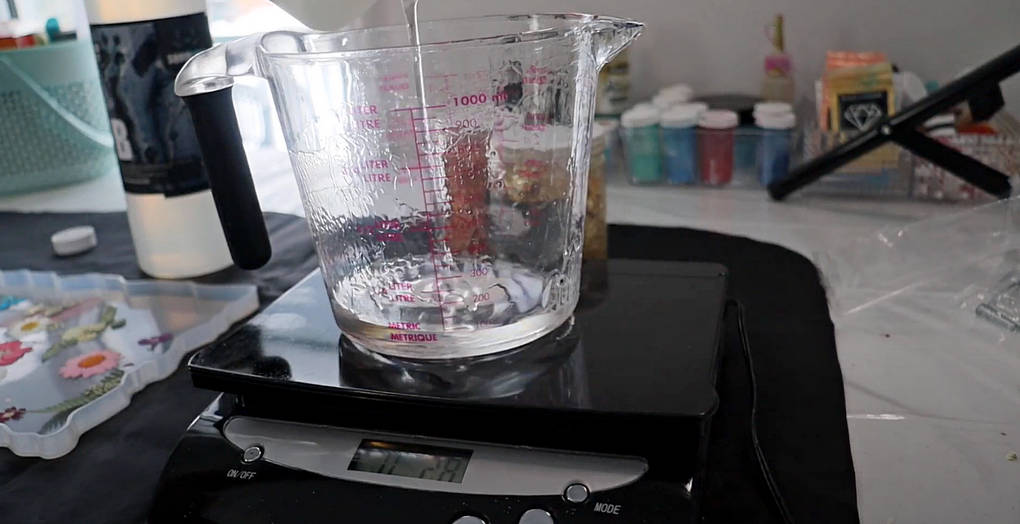
Start by measuring the two parts of the Squid Poxy resin. The ratio is two parts resin to one part hardener. For example, measure out 36 ounces of Part A and 8 ounces of Part B.
Mix your resin thoroughly for at least three minutes. A notable benefit of using Squid Poxy is its low odor, making it a more pleasant experience. As you mix, you’ll notice the resin is smooth with minimal bubbles—this is a sign of quality.
Setting Up the Mold
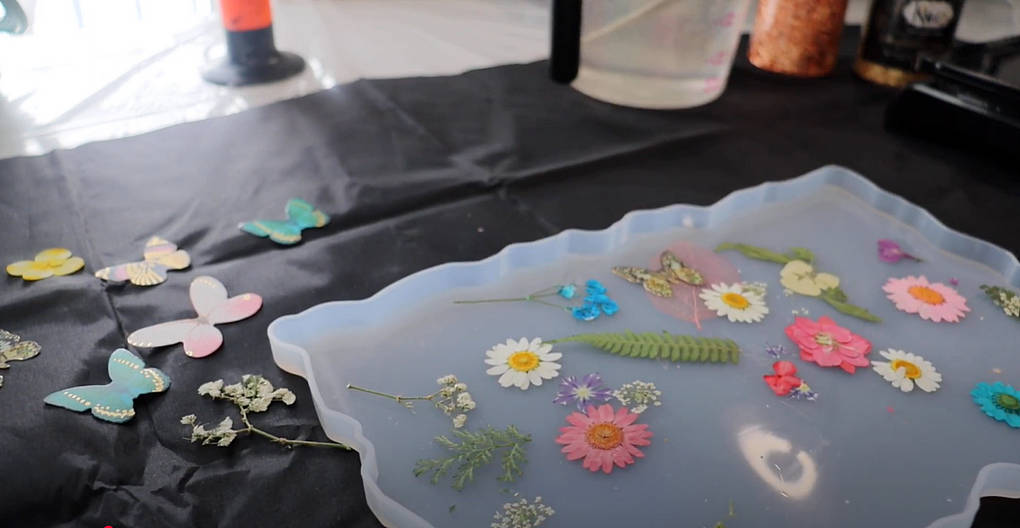
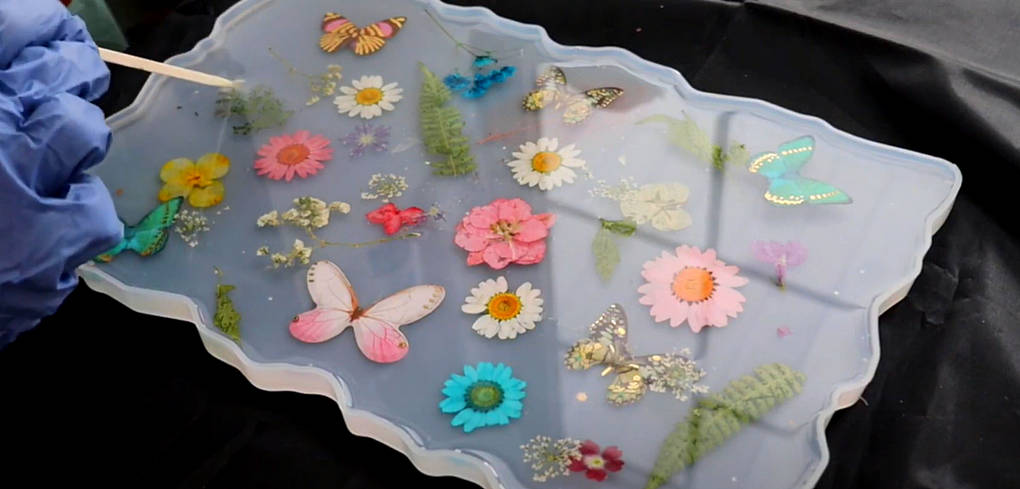
While your resin is set aside, prepare your tray mold. Place your dried flowers in the mold first. Arrange them nicely but remember that the resin may shift them a bit during the pour. It’s best to keep the leaves flat to ensure they won’t stick up after the resin cures.
Consider adding your butterflies at this stage for a whimsical touch. Just be mindful of their placement so they don’t interfere with the handles you’ll add later.
Pouring the Resin
Once your mold is set up, it’s time to pour the resin. Always wear gloves during this process. With the resin mixed, begin pouring slowly and evenly. As you pour, you might see the flowers and butterflies float, which is normal. You can use a pick to reposition them if needed.
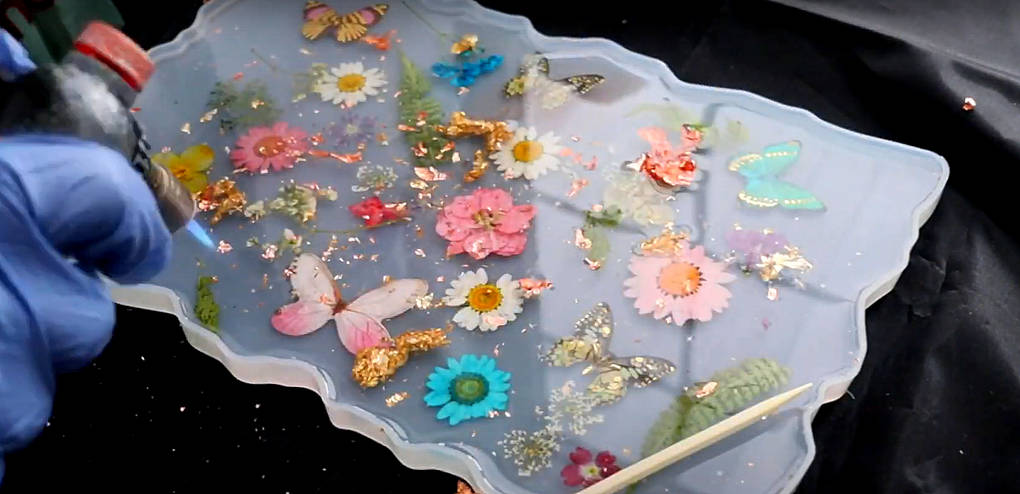
Watch for bubbles as you pour—they can form easily. If you notice bubbles rising, carefully pop them with a pick or release some heat with a heat gun. Remember, patience is key in this stage.
Adding Decorative Foils
After your first layer of resin has set a bit but isn’t completely hard, it’s time to add your foils. Crumble the gold and copper foils and sprinkle them over the surface. These shiny elements will add an eye-catching detail to your tray.
Check your design every so often to ensure your flowers remain in their intended spots. You have plenty of working time with this resin, so no need to rush.
Final Touches and Handles
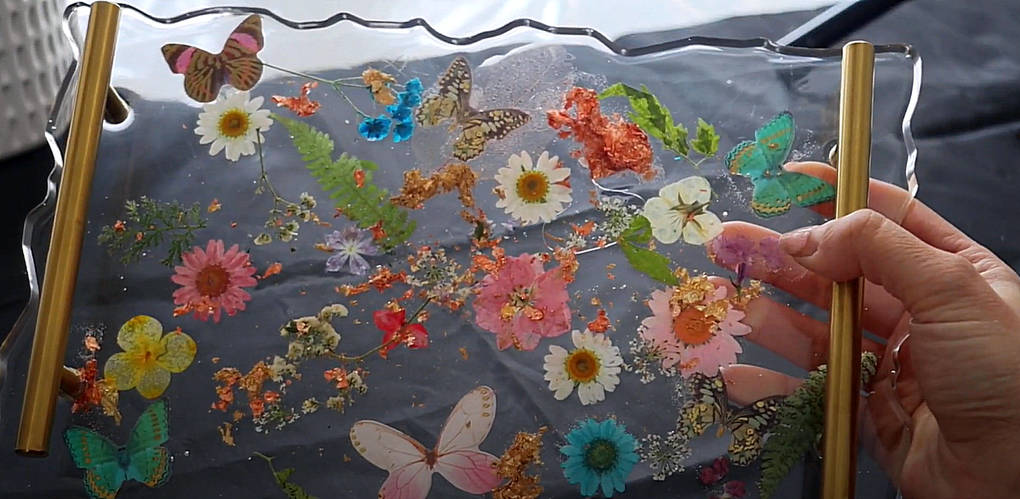
As the resin thickens—about nine hours later—you can start adding your handles. It’s important to wait until the resin is tacky but not completely hardened. This prevents the handles from sinking or tilting. Place them with a careful eye towards symmetry.
After making sure everything is positioned correctly, leave your tray to cure fully—typically around 32 hours.

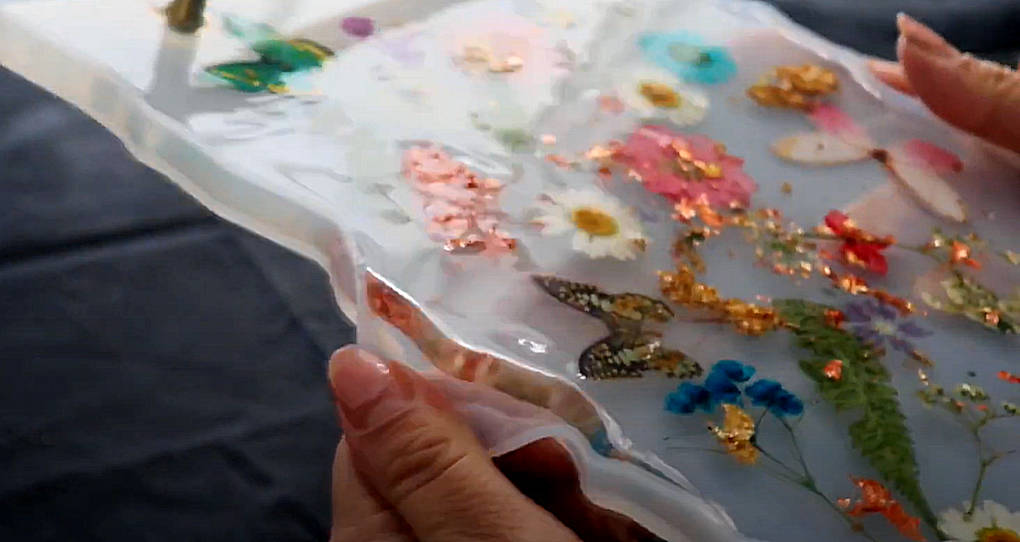
Demolding Your Tray
After the waiting period, it’s time to demold your beautiful tray. If it seems to stick, gently apply heat around the edges with your heat gun to loosen it.
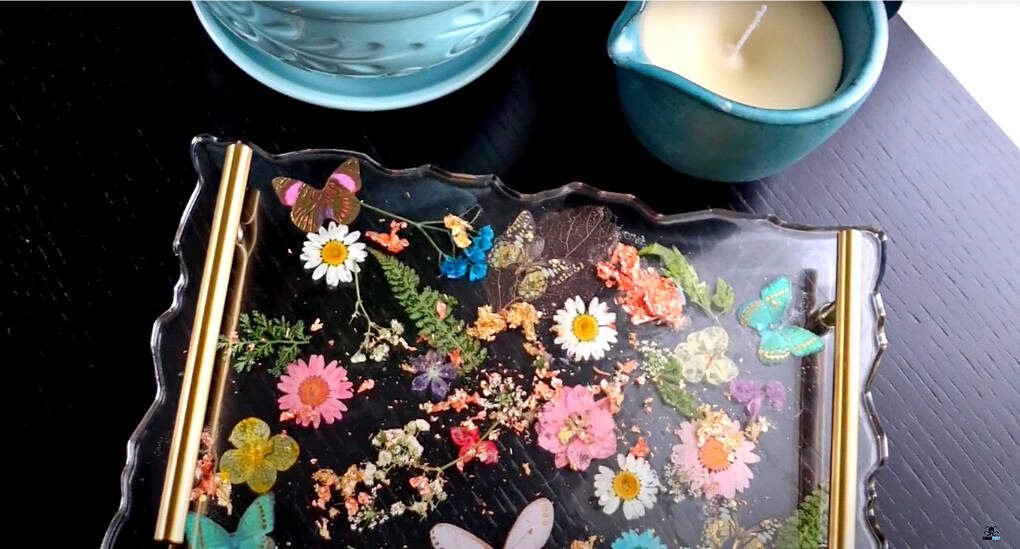
Once removed, your epoxy resin tray should showcase a stunning design with clear layers, vibrant flowers, and shiny foils.
Also see step-by-step instructions on how to make a resin wall clock.
Conclusion
Creating an epoxy resin tray is a gratifying project that results in a beautiful and functional piece. With a few materials and some patience, you can create a unique home decor item that showcases your style. So gather your materials, get started, and enjoy the process of making a tray that reflects your creativity!