Bob Chapman looks at sweet chestnut and turns an Art Deco-style bowl.
Sweet chestnut (Castanea sativa) trees, also called Spanish chestnuts, are thought to have been introduced to Britain by the Romans, probably to provide a source of food. Although rather bitter when raw, the nuts become sweet and floury when cooked and are used in all sorts of puddings and desserts. Roman soldiers were fed on a boiled sweet chestnut mash they called ‘polenta’ – a variant of the boiled maize meal we now know under the same name. Even today culinary uses still constitute the major commercial reason for the cultivation of the trees and globally the demand for the nuts exceeds supply. There is an avenue of huge pollarded chestnut trees at Croft Castle in Herefordshire, said to originate from nuts taken from the wrecks of the Spanish Armada, which attacked England in 1588. Legend has it that the trees are planted in positions representing the deployment of the Spanish fleet. If they were planted at the time of the Armada, it would make these magnificent trees well over 400 years old now, and their sheer size and hoary appearance do nothing to deny such a possibility. There is an atmosphere of perpetual stillness and tranquillity clinging to them.
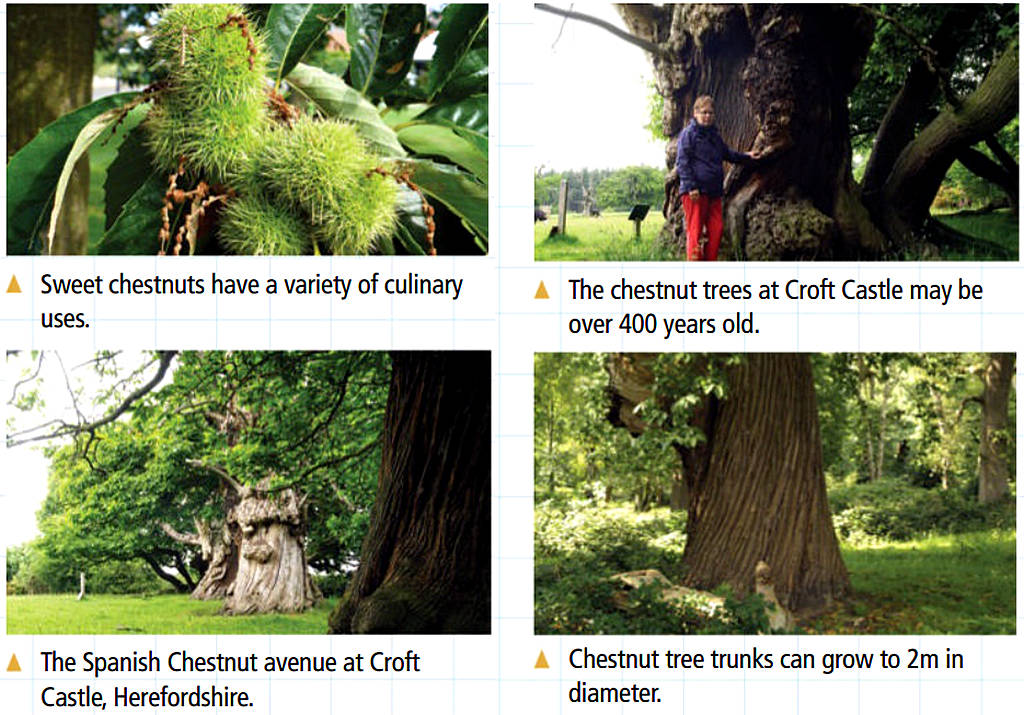
Sweet chestnuts are large trees and may grow trunks as much as two metres in diameter – see example opposite – with deeply grooved and often spiralled bark. The timber has a high tannin content, which increases its durability and makes it suitable for fence posts and other exterior woodwork. Tannin extracted from chestnut bark and timber was once used in the production of leather. Chestnut is an attractive timber and more recently it has found small-scale use for furniture and as a constructional timber. It is sometimes used as a substitute for oak (Quercus robur), which it resembles in appearance, although it is weaker, softer and more easily worked. Unlike oak, the rays in sweet chestnut are only visible under a lens. It is an excellent timber for turning.
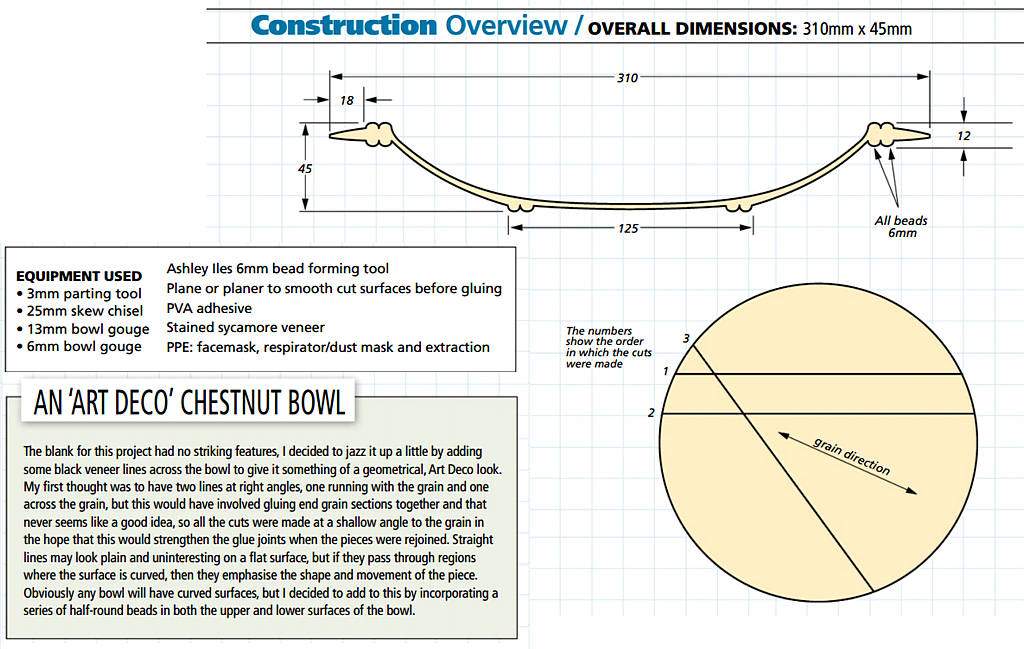
1. After marking out the cut lines on the blank, cut the first two lines on the bandsaw, then plane the cut surfaces smooth and straight. Cut strips of veneer to a width matching the thickness of the bowl blank.
2. Place the pieces loosely together using the third cut line to line them up so that the grain matches across the veneer lines. In this position, make further mating marks across the joints. These make positioning the pieces easier when they are glued up.
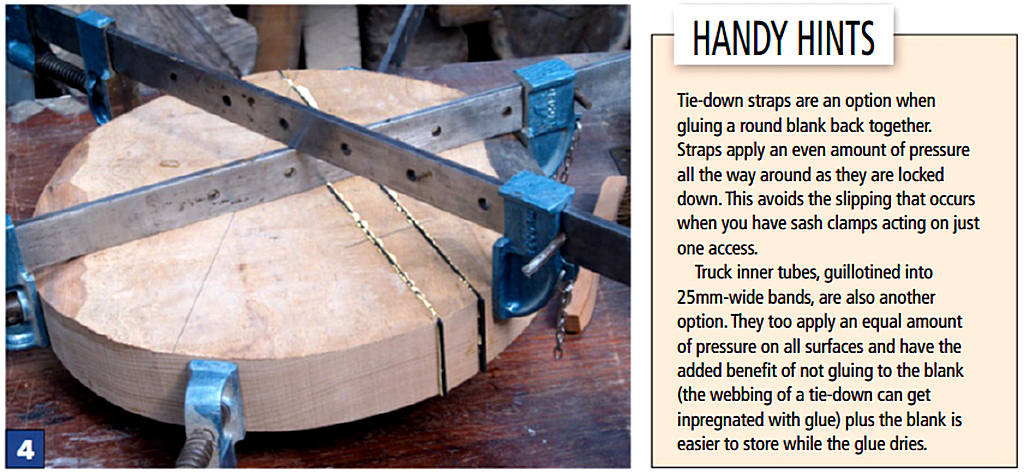
3. I used Titebond II glue but any good quality PVA-type glue will do. Apply glue liberally to the chestnut surfaces before sandwiching the veneer between them and putting the pieces back together. Use plenty of glue to ensure a good bond between the veneer layers and the blocks of solid wood on either side of them.

4. Carefully align the mating marks and gently clamp the block, then leave for the glue to set. Take care not to overtighten the clamps as it is very easy to push the pieces out of alignment or to squeeze the glue out resulting in a weak, ‘dry’, joint. It is important that the block is glued securely. When the glue has set in these two joints, form the third veneer line in the same way, using the newly formed veneer lines to align the piece.
5. With the blank mounted on an 8mm screw held in the chuck, clean and mark out the underside. The inner circle represents the spigot size and is determined by the chuck. This remains the same for every bowl I make, whereas the outer circle represents the size of the foot, which is determined by the size of the bowl. I usually make the foot approximately a third of the diameter of the bowl.
6. Form the dovetail spigot with a parting tool and skew chisel, removing waste with a 13mm bowl gouge. Cut the beads for the foot using a 6mm beadforming tool, ensuring that all beads are identical.

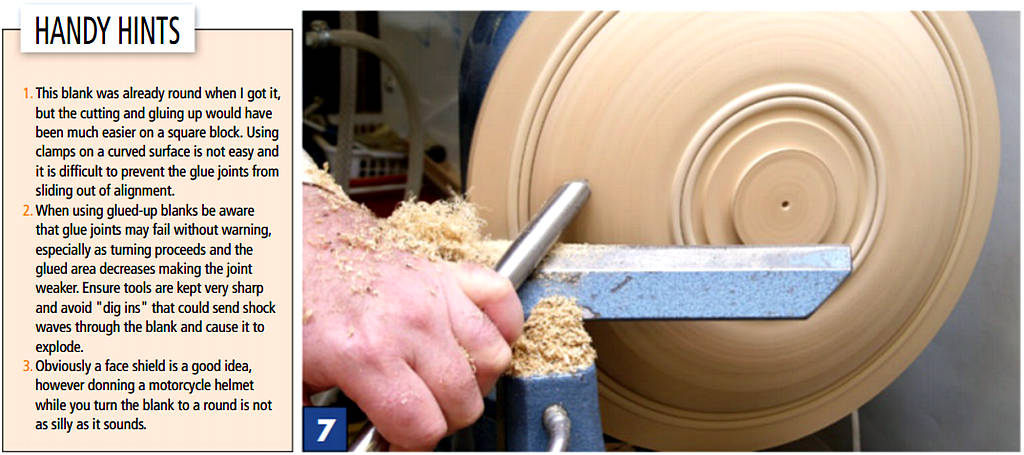
7. Using a 13mm bowl gouge, shape the underside as far as the rim, which is left quite thick to accommodate the beads that will be formed on the upper surface. After forming the beads on this side of the bowl, refine the bowl shape with sheering cuts from the bowl gouge. Note the angle of the gouge – the flute is well over, at about 8 o’clock, with the lower wing taking a very fine cut at approximately 45°. The fine shavings accumulating on the toolrest show the delicacy of the cut.
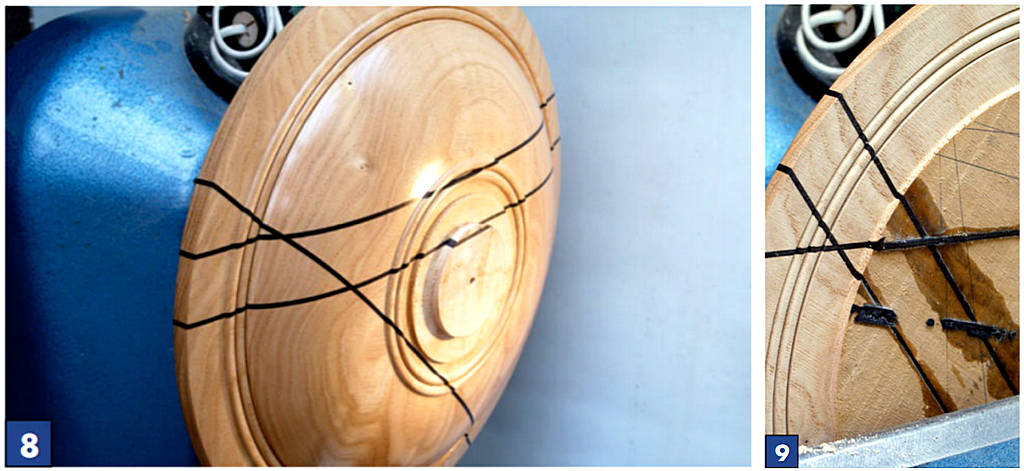
8. After sanding from 120 to 400 grit, give the bowl’s exterior a coat of cellulose sealer before waxing and buffing to a sheen with a soft cloth.
9. With the bowl reversed and held by the spigot in the chuck, true up the rim area with the bowl gouge prior to cutting the beads on this side which mark the inner edge of the rim. It is important to the design that when cutting these beads they match exactly the position of the beads on the lower surface of the rim and thus maintain its symmetry. Complete the rim down to the level of the bottom of these beads and sand the beads and the rim down to 400 grit.
10. Continue hollowing the bowl, I working in towards the centre, but stopping part way to allow a central ‘lump’ to remain. This helps maintain rigidity in the bowl and prevents the walls from flexing too much as you work on them. Remove wood from the middle only when the walls are nearing completion.
11. Finish the interior of the bowl I with light cuts into the middle, maintaining the smooth curvature of the bowl.

12. Power sand the interior of the bowl from 120 grit to 400 grit using 75mm sanding pads in an electric drill. These larger pads span any high spots, helping to remove them and level the surface. Seal and polish the interior as before.
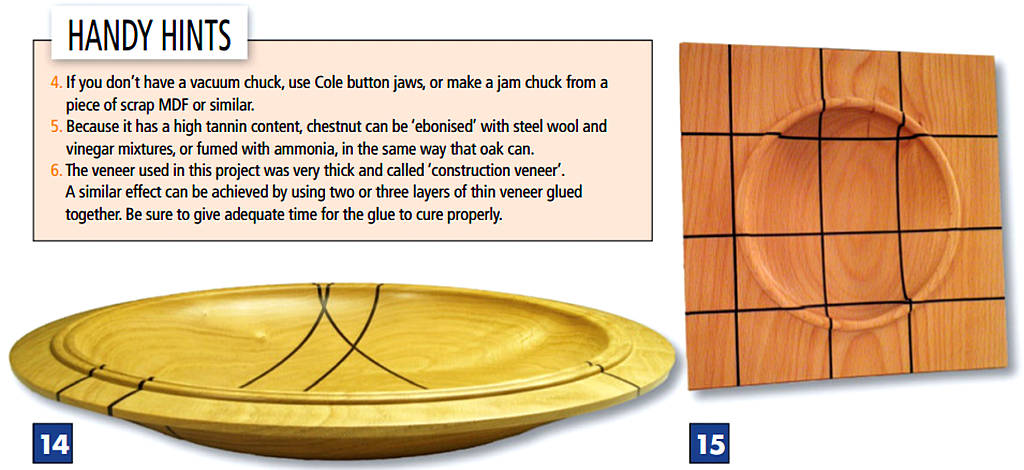
13. The final step is to reverse the bowl once more on the vacuum chuck and, using a small 10mm bowl gouge with a swept-back grind, remove the spigot and take the bottom down to the level of the bottom of the beads. After sanding, sealing and polishing, this will leave the beads standing proud of the surface for the bowl to sit on.

14. The finished bowl should look I something like this.
15. Of course it doesn’t have to be sweet chestnut. This small beech (Fagus sylvatica) bowl was made in a very similar way to the chestnut bowl. Again, the veneers were inserted before turning began, but end grain to side grain in the veneer glue joints was unavoidable. In the knowledge that these joints were weak the piece was turned carefully, taking very light cuts with very sharp tools. In order to cut into the comers, a very high speed was used – the faster the comers come round, the more it feels like cutting solid wood.
