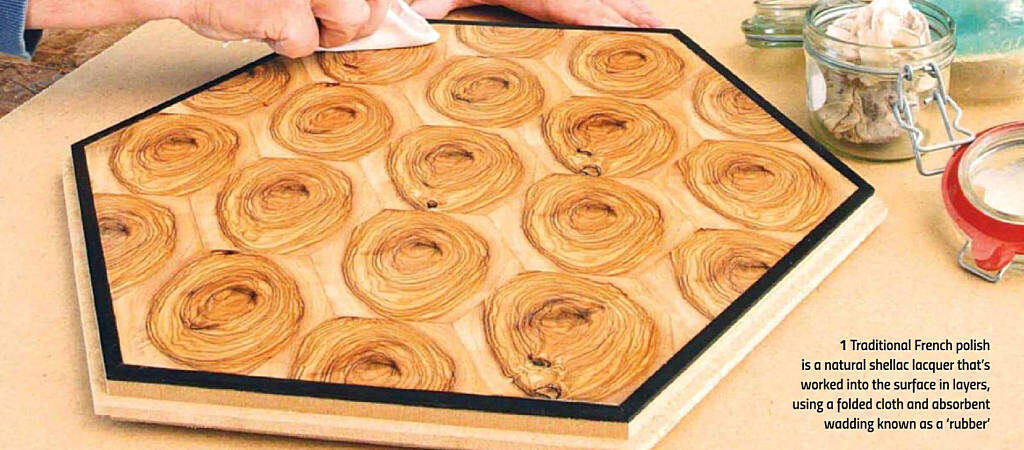
In the final part of this beginners’ series, John Bullar looks at preparing and treating the wooden surfaces of furniture.
First impressions count in furniture as much as anything else. It might seem unfair after all the care you’ve put into internal construction, but the fact remains that people will first judge your furniture by the outside fraction of a millimetre – how it reflects light and how it feels to touch.
This isn’t to say that quality of construction is any less important, however. It’s only when furniture looks good on the surface that people will take an interest in how the piece is made.
After that they’ll think about giving it a place in their home, finding out how robust it is and how well it functions. A good furniture maker with a lasting reputation has to pass all these tests.
While there are occasions when the wood is left bare, most furniture surfaces have some form of treatment, which improves light reflection, reduces oxidation and moisture transmission, as well as keeping them feeling smooth by preventing fibres furring up. This treatment can range from a quick lick of paint to a meticulously applied French polish (photo 1), with many variations in between.
Planed surfaces
Ideally when furniture is assembled from hand-planed components with carefully chosen grain direction, then the amount of surface preparation on the finished piece can be minimal. A finely-tuned hand plane with razor-sharp blade will slice through the surface fibres, leaving them silky smooth. In practise, however, there’s often parts that need sanding due to compromises in wood selection or when working with less than ideal tools.
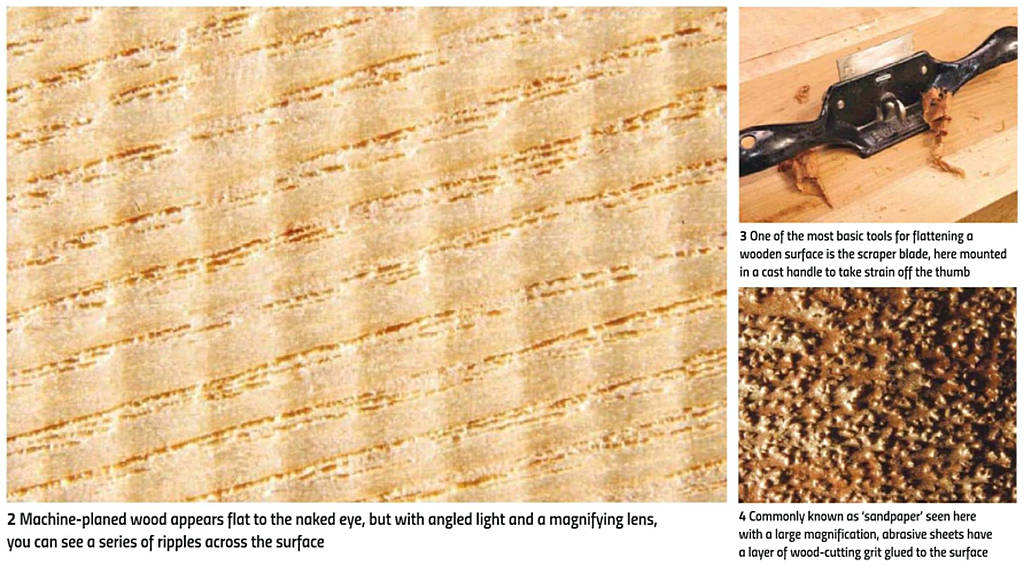
Machine-cut wood is a different story, though. By its very nature, a powered saw or planer leaves a series of ripples on the surface (photo 2). Because these are so fine they may not be obvious until a surface treatment is applied, which darkens the wood in varying degrees depending on the angle of fibres meeting the surface. The results can then be blotchy and disappointing, so the fact of the matter is that machine-cut surfaces will always require further preparation.
Being prepared
Scraper blades are square-edged plates of steel used to remove the very minimum of thickness while opening up a fresh surface on the wood (photo 3). The simplest scraper is a playing card-sized rectangular sheet, gripped between fingers and thumbs of both hands while the edge is pushed across the wooden surface. The scraper blade is angled away from the direction of movement so that it doesn’t catch, and to make the task easier, dedicated tools are available for holding scraper blades. Furniture makers and musical instrument makers use curve-shaped versions of these extensively on various carved work.
Abrasive sheets
An alternative to scraping the surface with a single edge is to rub it with a multitude of microscopic edges. Traditional cabinetmakers used to employ pieces of sharkskin as a fine abrasive sheet, which in time was replaced by sand and other fine grits glued to paper or fabric.
An ideal abrasive for wood surfaces won’t clog up and the grit will flake off to produce new edges rather than rounding over (photo 4). Nowadays, aluminium oxide is most commonly used on wood with silicon carbide preferred in the case of metals.
 Powered sanders
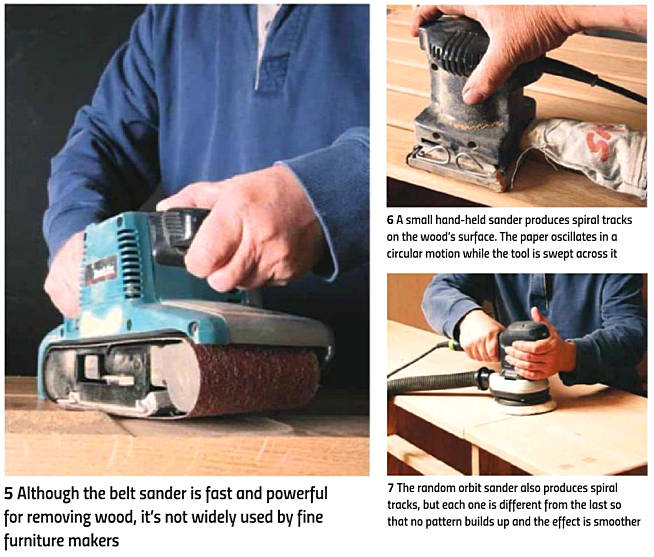
Hand sanding is great for small projects with fine details; one big advantage being you can follow the grain direction and are unlikely to dig too deep. For larger pieces of furniture, however, this method is labour intensive, so electrically powered sanding tools are generally preferred. The belt sander (photo 5) is the most powerful and fastest in the sanding tool family, although it can be a bit of a brute. Taking a belt sander to a piece of fine furniture would be a bit like driving a 4×4 across a bowling green – yes it lowers the surface, but not in a good way!
Orbital sanders
Fine sandpapers are particularly suitable for use in orbital sanders where the abrasive moves in a spiral pattern, crossing the wood grain at all angles. Random orbit sanders use abrasive discs and avoid leaving swirl marks as the centre of rotation is continuously moving (photo 7). This produces a faster and more powerful action together with a better finish.
Linear sanders
A linear oscillating sander moves the paper backwards and forwards in a straight line.
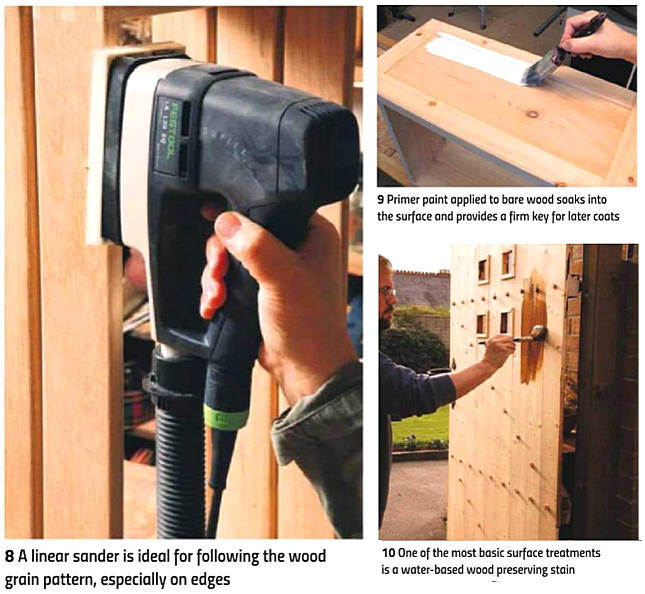
The sanding heads can be replaced with shaped profiles, which are especially suited to delicate work such as following the wood grain on edges (photo 8). Linear sanders take a little time to master and are much more expensive in comparison to small orbital sanders, but they do produce excellent results.
 Basic finishes
One of the main purposes of wood surface treatment is to seal the wood exterior, which reduces dirt pickup or moisture and prevents discolouration. Traditional paints and varnishes consisted of resins and dyes dissolved in turpentine or a volatile oil-derivative. Several coats are required, starting with a primer that soaks into the surface followed by layers to provide colour and level out the coating, before applying a top layer, which forms a gloss or matt reflective properties (photo 9).
Modern paints and varnishes take the form of an emulsion mixed in a water base (photo 10), which greatly reduces harmful effects on health and the environment.
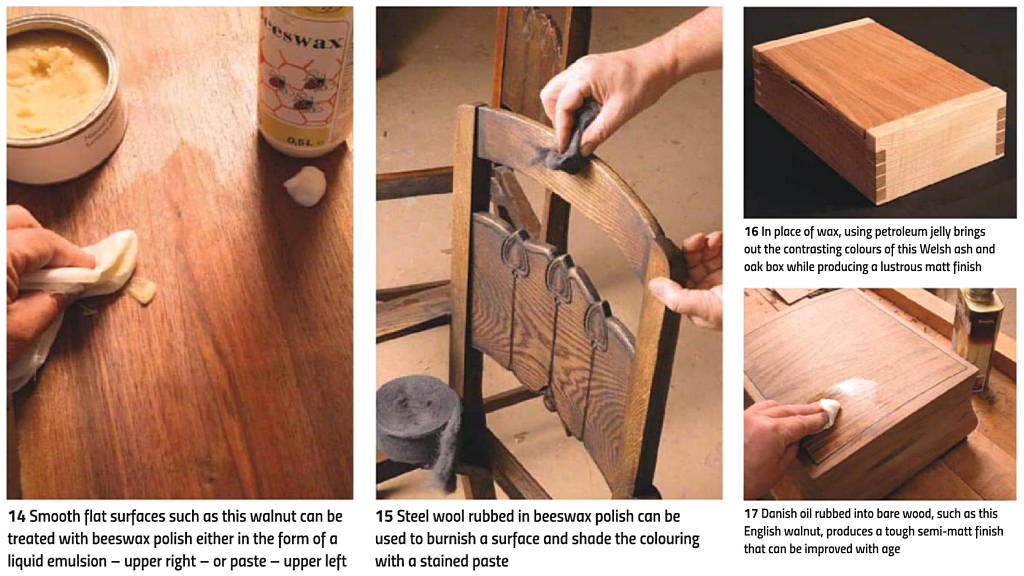
Pure wax treatments
Pure and simple beeswax is one of the oldest treatments for coarse-grained woods such as oak and is extremely effective for sealing to reduce dirt and moisture uptake (photo 11). Its only limitation is that it requires frequent replenishment. In warm conditions, you can simply rub the wax directly onto the wood, then work it in vigorously with a stiff-bristled brush. Warm air blown over the wood surface increases the uptake of wax, which makes it more effective and longer lasting (photo 12). We can see the effectiveness of beeswax on centuries-old furniture and internal wall panels in museums and historic buildings (photo 13).

Wax pastes
Beeswax is often mixed with other oils, waxes and solvents, making it easier to apply and thus aiding the soaking in process. Liquid wax polish in particular soaks deeply into a newly prepared wooden surface. However, on an old long established wax surface, the solvent in the paste will soften lower layers and may reduce depth of finish (photo 14).
Steel wool is often used to apply wax paste where it’s required to clean up an old finish or indeed remove some of it (photo 15). It can also be used to apply different coloured wax pastes, to give shading to furniture, which mimics the burnishing effects that result from centuries of handling. Only use fine steel wool graded ‘000’ or ultra fine graded ‘0000’ so as not to scratch the wooden surface and lift grain.
Oil finishes
When it comes to producing a matt finish, petroleum jelly or Vaseline can be used as an alternative to wax paste (photo 16). Just like wax, this will bring out the wood’s natural colour and protect the surface from moisture and dirt, but without the glossy finish. As with wax paste, petroleum jelly soaks in and to provide continued protection, it requires replenishment.
Danish oil is the name given to a type of oil finish traditionally used on Scandinavian furniture. Typically, it’s a mixture of plant oils -such as tung and linseed – together with white spirit and other synthetic organic compounds, which help it penetrate deeply and quickly dry to a hard, semi-matt finish. Danish oil is applied generously to bare wood, then the excess wiped off the surface with a clean rag. After being given a day to dry, the process is repeated twice until it builds up a deep, long lasting, semi-matt sheen (photo 17). It can be used as a preparatory primer coat for wood, and once cured, then polished to a glossier finish with a wax paste polish.
Alternatively, it can be cut to a matt finish using petroleum jelly and fine steel wool.
Shellac & lacquers
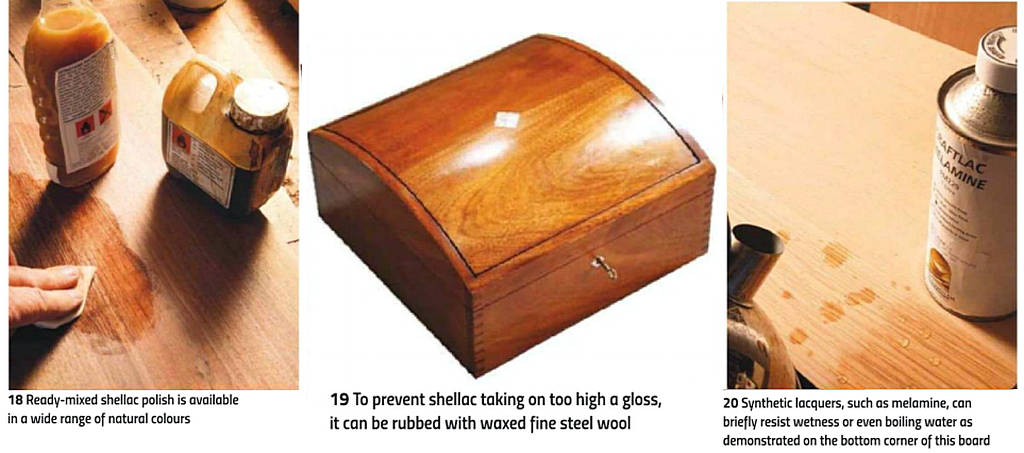
Shellac – a natural resin secreted by lac beetles in the forests of India and Thailand – is best known as the medium used in ‘French polishing’. This is a lengthy process used to fill the grain and produce a high gloss reflective finish. Part of the traditional process is dissolving solid flakes in alcohol and clarifying the liquid, but ready-mixed shellac polish saves a lot of trouble. Mixtures come in a range of natural colours from clear ‘white’ to dark ‘garnet’ (photo 18).
Apart from the option of producing a high gloss with many coats, shellac is an excellent sealant producing a long lasting shell-like coat on smoothed wooden surfaces (photo 19).
A shellac sealed surface can be rubbed with waxed fine steel wool to prevent taking too high a gloss. However, care must be taken not to spill alcohol onto shellac, as it will dissolve even a long established finish.
Synthetic lacquers copy the performance of shellac using a polymer resin dissolved in synthetic solvent. They can briefly resist moisture, alcohol or even boiling water, so are therefore ideal for kitchen furniture (photo 20).
Spray finishes
Varnishes are available in many types and grades, some of which – such as pre-cat and acid catalyst lacquers – were traditionally used for spraying furniture in production workshops.
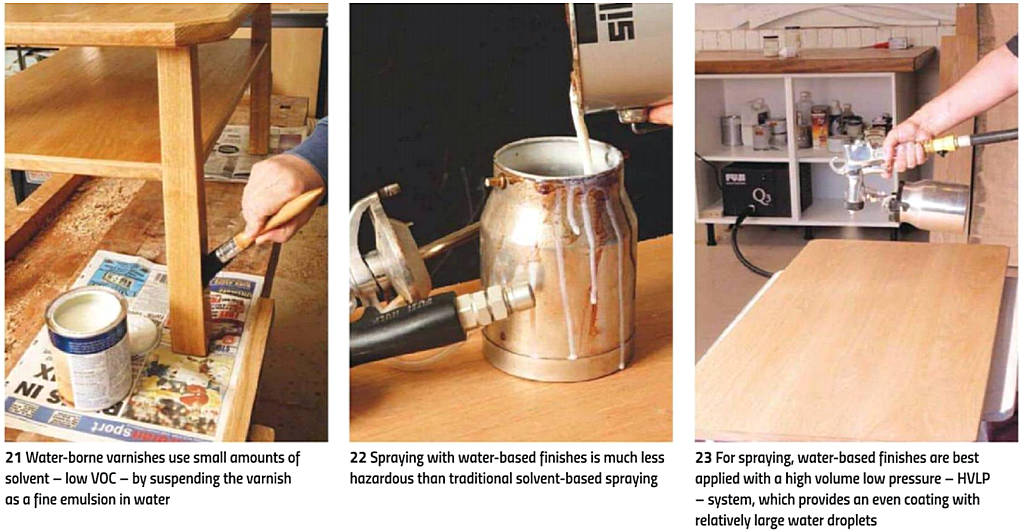
Breathing masks were necessary to reduce the health hazard and filtered extraction in the case of environmental damage (photo 21). Modern water-borne finishes considerably reduce these problems, although filtered breathing is still a must (photo 22).
Water-based finishes are diluted then best applied with a high volume low pressure (HVLP) spray system, which provides an even coating with relatively large water droplets (photo 23).
Conclusions
 Don’t be tempted to rush the final stage of furniture making. The type of finish that’s desirable will depend on the wood species used as well as various practical considerations, not to mention the end user’s personal tastes.
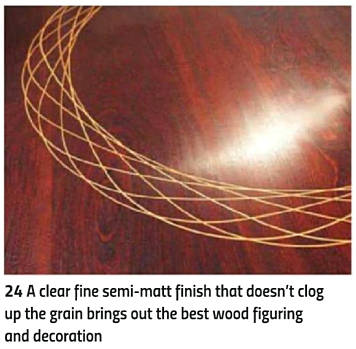
My preference is for a semi-matt finish that doesn’t clog up the grain, but brings out the best of the figuring and decoration (photo 24).
While there are many areas and details we’ve not yet covered, I hope this series has given you a few pointers towards making your own furniture or perhaps even inspired you to give it a go.

