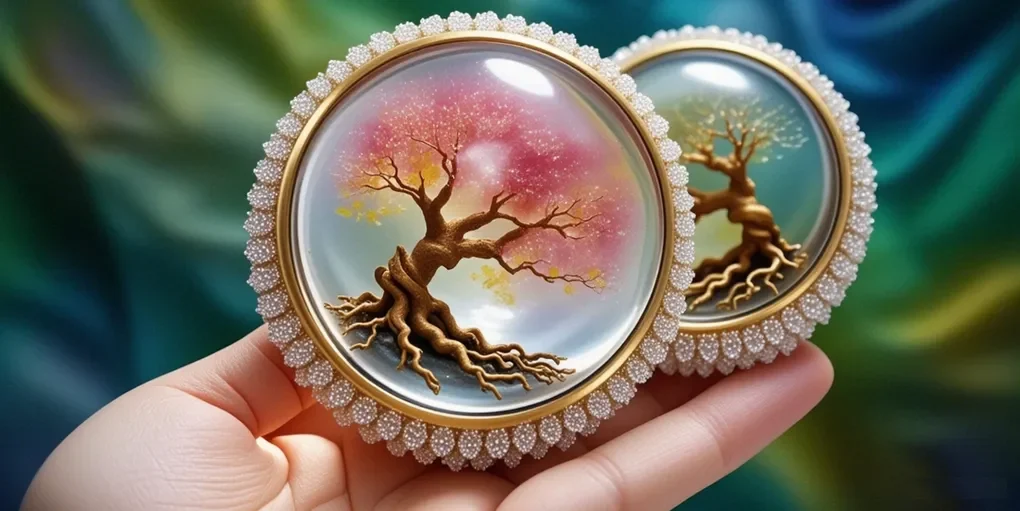
Resin doming is a captivating technique used to create glossy, three-dimensional coatings over various surfaces, enhancing their durability and visual appeal. Whether you’re crafting jewelry, keychains, or decorative art pieces, mastering resin doming can elevate your creations.
This comprehensive guide covers everything from resin doming techniques and best materials to troubleshooting common issues and inspiring project ideas.
1. Understanding Resin Doming
Resin doming involves applying a thick, clear layer of resin over a flat surface to create a smooth, glass-like dome. This technique is popular in:
-
Jewelry making (pendants, earrings)
-
Keychains & charms
-
Photo preservation (dome overlays)
-
Custom decorative pieces
The key to success lies in choosing the right resin for doming, using proper tools, and following precise techniques.
2. Techniques
How to Resin Doming (Step-by-Step Guide)
-
Prepare Your Workspace
-
Work in a clean, dust-free area.
-
Use a level surface to prevent uneven doming.
-
Cover your workspace with silicone mats or parchment paper.
-
-
Select the Right Resin
-
UV resin – Fast-curing under UV light, ideal for small projects.
-
Epoxy resin – Best for larger domes, longer working time.
-
Clear resin for doming – Ensures high transparency.
-
-
Mix & Pour the Resin
-
Follow the manufacturer’s mixing ratio (typically 1:1 for epoxy).
-
Stir slowly to avoid bubbles.
-
Pour a small amount in the center and let it spread naturally.
-
-
Create the Dome Shape
-
Use a toothpick or resin spreader to guide the resin to the edges.
-
The surface tension will form a natural dome.
-
-
Cure the Resin
-
UV resin: Cure under a UV lamp (2-5 minutes).
-
Epoxy resin: Let it cure for 24-48 hours.
-
-
Finishing Touches
-
Sand any rough edges with fine-grit sandpaper.
-
Polish with a resin gloss spray for extra shine.
-
3. Best Resin for Doming
| Type of Resin | Best For | Curing Time |
|---|---|---|
| UV Resin | Small projects (jewelry, charms) | 2-5 min (UV light) |
| Epoxy Resin | Larger domes (coasters, wood art) | 24-48 hours |
| Polyester Resin | High-gloss finishes (not beginner-friendly) | 30 min – 2 hrs |
Resin Dye
-
Alcohol inks – Vibrant translucent colors.
-
Mica powders – Shimmery metallic effects.
-
Pigment pastes – Opaque, bold hues.
Doming Resin vs. Epoxy Resin
-
Doming resin is thicker and self-leveling.
-
Regular epoxy resin may require multiple layers for a dome effect.
4. Essential Tools
-
Silicone molds (for shaping)
-
UV lamp (for UV resin)
-
Plastic spreaders (for smoothing)
-
Heat gun/lighter (to remove bubbles)
-
Measuring cups & stir sticks
-
Toothpicks (for precise application)
5. Resin Doming Projects & Ideas
Jewelry Doming Ideas
-
Resin-domed pendants with dried flowers.
-
Geode resin earrings with metallic flakes.
-
Personalized name charms.
Doming Keychains & Charms 
-
Custom logo keychains.
-
Photo domed keyrings.
-
Glitter-infused resin charms.
Resin Doming on Wood
-
Wooden coasters with domed resin centers.
-
Resin river tables with a glossy finish.
-
Engraved wood art with colored domes.
Dome Overlays on Photos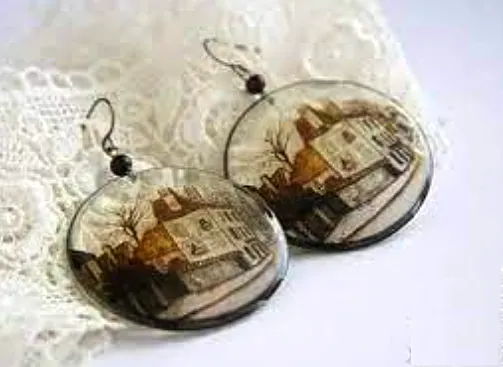
-
Preserve polaroids or printed images under resin.
-
Create personalized bookmarks.
Custom Resin Domes
-
Cabochons for jewelry making.
-
Decorative paperweights.
-
Resin-covered seashells.
6. Resin Doming Troubleshooting
Common Mistakes & Fixes
| Issue | Cause | Solution |
|---|---|---|
| Bubbles in resin | Trapped air, improper mixing | Use a heat gun or toothpick to pop bubbles |
| Resin not curing | Incorrect ratio, cold environment | Ensure proper mixing, warm the room |
| Sticky surface | Under-cured resin | Re-expose to UV light or let cure longer |
| Dust in resin dome | Dust settled during curing | Work in a clean area, cover while drying |
| Uneven dome | Surface not level | Adjust workspace, use a leveling tool |
7. Inspiration & Advanced Techniques
Creative Resin Doming Designs
-
Layered domes with embedded glitter.
-
Ocean wave effects using blue resin and white alcohol ink.
-
Galaxy domes with glow-in-the-dark powder.
Unique Tutorials
-
How to dome over fabric (lace, embroidery).
-
Creating 3D domed stickers.
-
Over metal blanks.
Doming Gallery (Ideas to Try!)
-
Floral resin cabochons.
-
Domed resin geodes with crystals.
-
Resin-covered dried insects (entomology art).
Final Tips for Success
✔ Work in a dust-free environment.
✔ Measure resin accurately to avoid curing issues.
✔ Use a heat gun sparingly to prevent overheating.
✔ Experiment with colors & additives for unique effects.
✔ Seal porous surfaces (like wood) before doming.
Conclusion
This technique adds beautiful 3D finishes to crafts, perfect for both beginners and experienced makers. By learning proper methods, choosing quality materials, and troubleshooting issues, you’ll create perfect glossy surfaces.
Ready to begin? Collect your supplies, choose a design, and unleash your creativity! Need product suggestions or pro tips? Ask below!
Tags: #ResinDoming #EpoxyResin #UVResin #ResinArt #DIYCrafts #ResinJewelry #ResinTutorial