David Springett shares his workshop know-how to help your turning.
1. Foam chuck
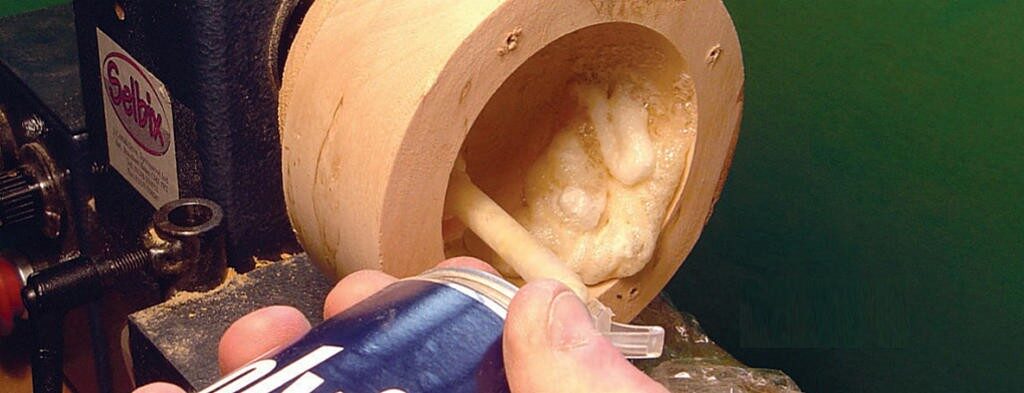
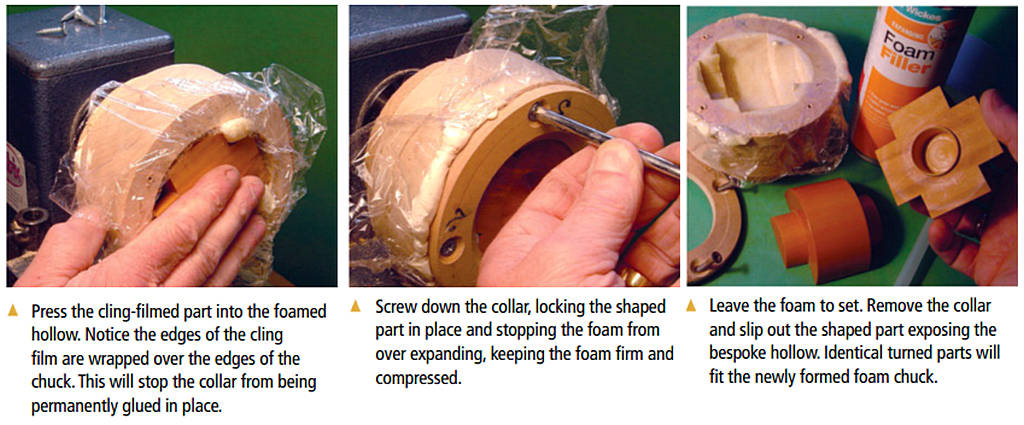
This is a method of holding an awkwardly shaped part so that it can accept additional turning. Start by turning a hollow into a prepared softwood chuck. This hollow has to be of sufficient size to accommodate the awkwardly shaped part you want to hold.
Make a collar with an opening which will fit over the turned hollow and hold the shaped part firmly in that hollow. Wrap the part to be held in cling film and set on one side. Now for the fun.
2. Old techniques, new ideas
Don’t dismiss old techniques and ideas as being of little use now that you own all the hi-tech ‘stuff’. Think how you can bring those old techniques up to date.
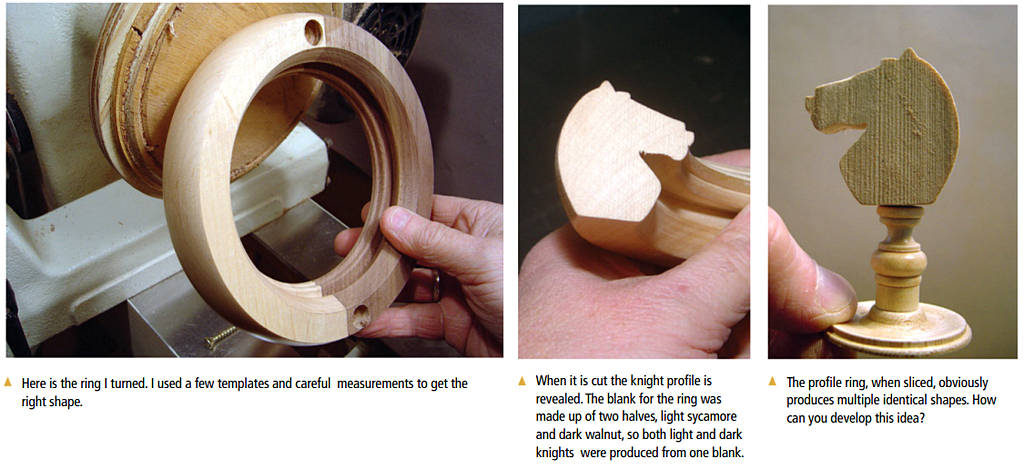
You know the problem with turned chess sets, it’s the knight. Do you turn a form and have to explain that this really is a knight or do you carve a knight? It suddenly came to me – ring turning, that old technique traditionally used to produce animal forms could be used to turn a knight profile.
3. Hot melt glue a temporary fixing
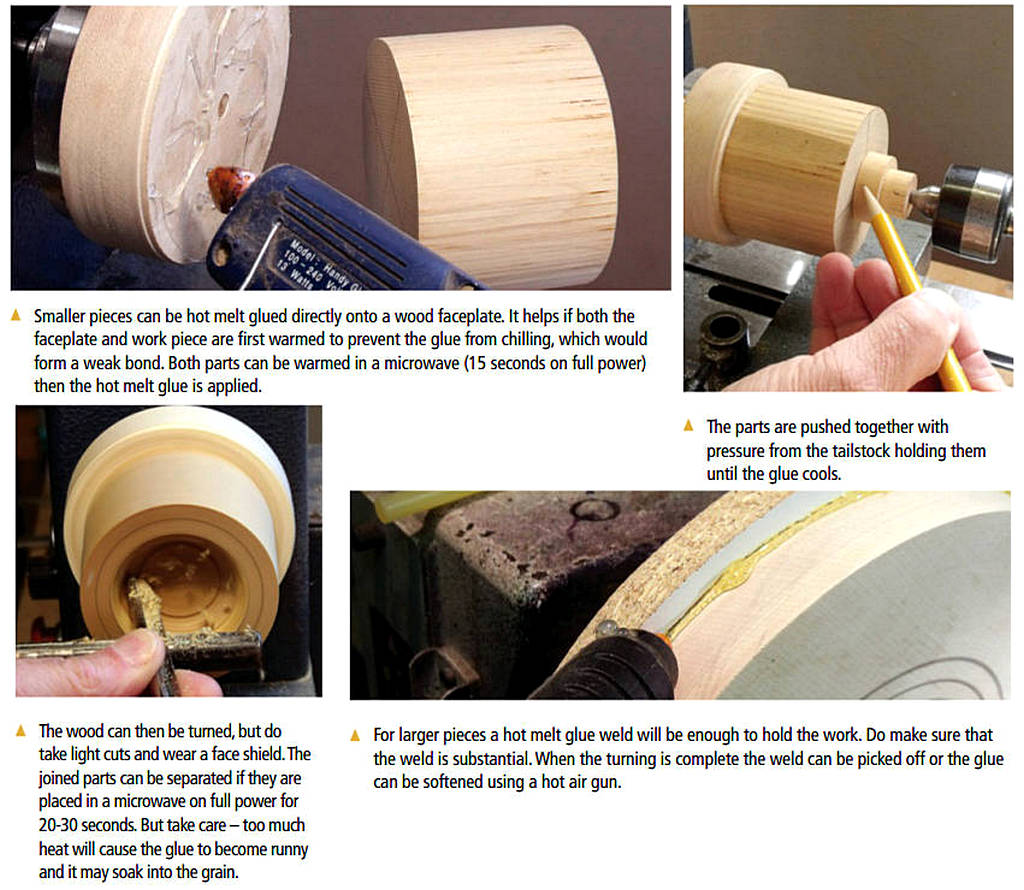
I was introduced to hot guns when I was working as a picture framer. The exhibition hall we set up in had strict rules about screwing or nailing batterns to the wall. Hot glue guns were new and in no time we had batterns on the wall and our frames hanging proudly. Next year the rules included hot glue!
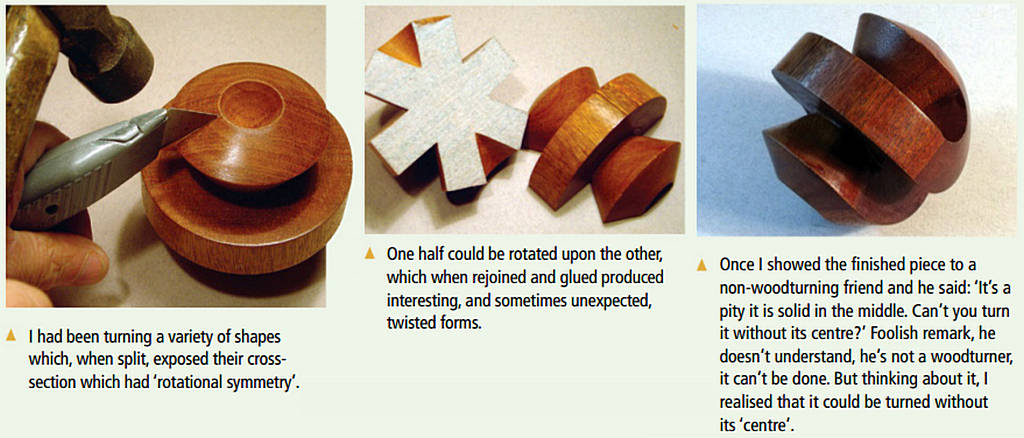
4. Never dismiss what you think is a crazy idea
5. Tomato sauce bottle glue dispenser
While washing out a plastic sauce bottle ready for recycling it occurred to me that it would make an excellent glue bottle. As I buy my PVA glue in bulk it seemed sensible to pour off a small quantity into one of these clean bottles. It works so well.
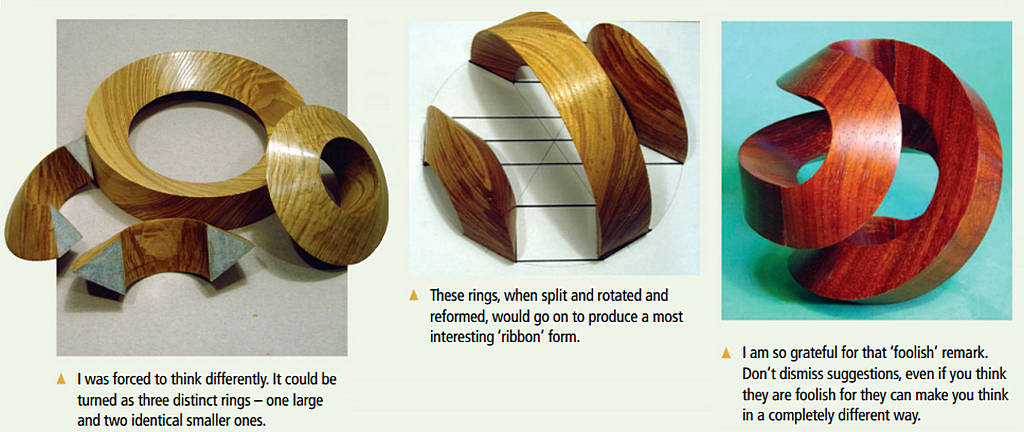
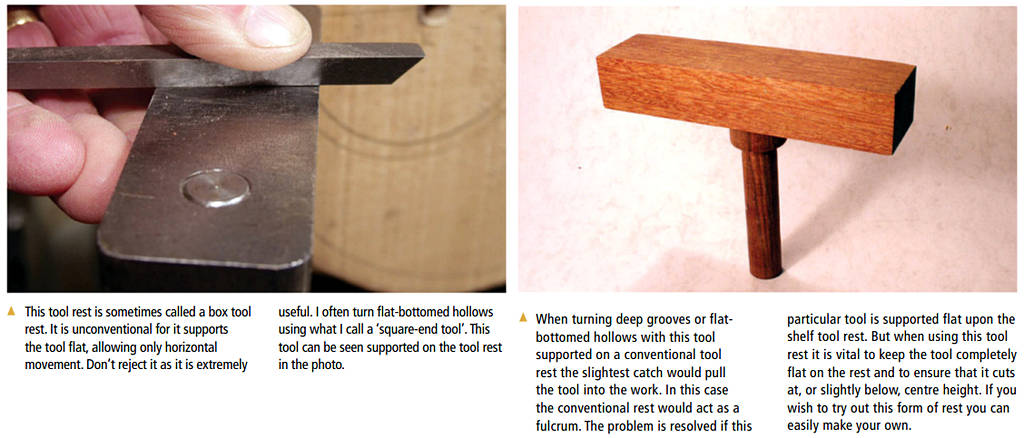
6. Shelf tool rest
7. Typist correction fluid
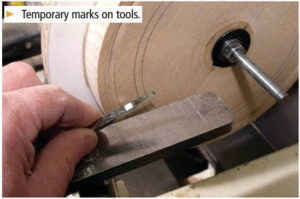 I find typist correction fluid very useful when you need to temporarily mark a position on a turning tool, or even on a tool rest.
I use it regularly when marking a position on a tool to indicate the depth I wish to reach. If the mark needs to be precise then a dark line can be drawn upon the dried white surface using a fine tipped black marker.
8. Rubber bung mandrel
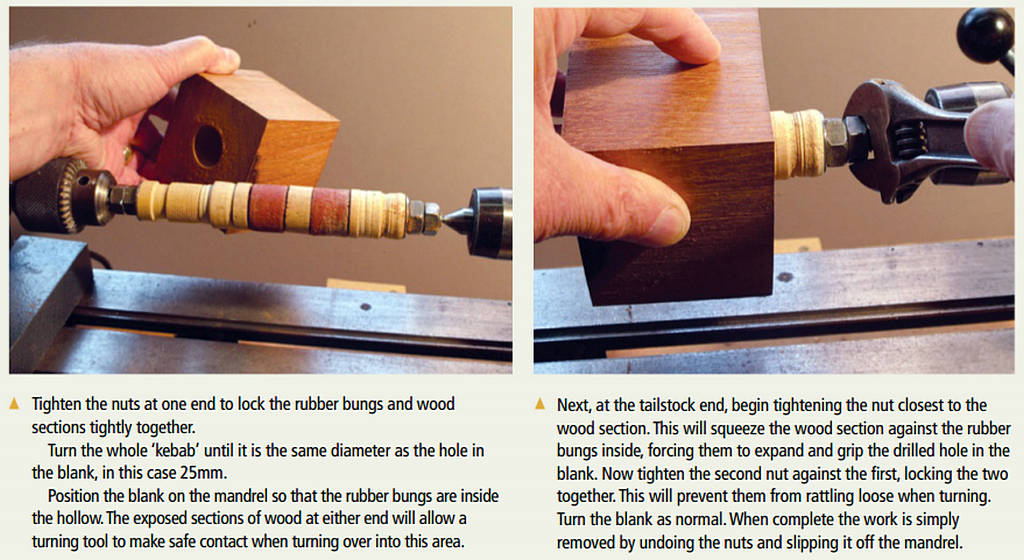
I needed to fully turn a piece with a hole through its centre, so I developed this mandrel with expanding centre. Here’s how you can make your own.
Take a threaded rod and at one end drill, using an engineer’s centre drill, a conical hollow. The revolving centre will fit neatly into this drilled end.
Next you will need four nuts, two washers, two rubber bungs and some sections of wood.
Drill the hole through the blank about to be turned. In this case it was 25mm [1in] and set it aside.
Fit a pair of nuts and washer onto the threaded rod. Next a section of wood with a hole drilled through the same diameter as the threaded rod. Now a rubber bung, another drilled section of wood, a rubber bung and the final section of wood, followed by a washer and two nuts. It will look like a kebab.
Set the threaded rod ‘kebab’ onto the lathe holding it, at the headstock end, in a Jacobs chuck and supported at the tail-stock with revolving centre fitted into the prepared conical hole.
9. Newspaper/glue joint – another temporary fix
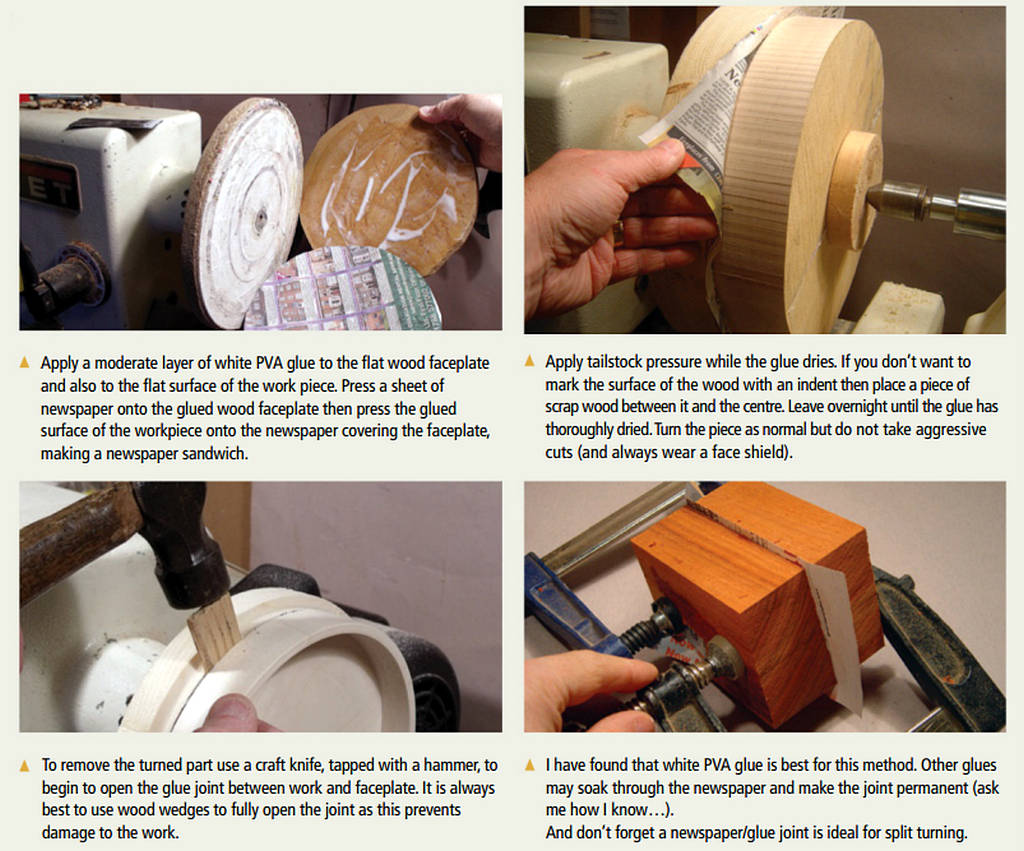
All you need is white PVA glue, a sheet of newspaper and two flat surfaces on the parts to be joined.
10. And my final tip
 A friend once said to me: ‘If someone else can do it, so can I.’ So never defeat yourself before you begin. Be positive – who knows what you might achieve?
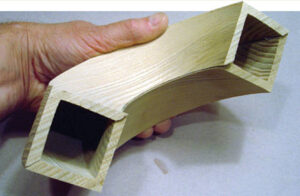
The lathe is as versatile as you make it. Sleeping on the problem can get you thinking “outside the box” As you can see, I know how to turn square holes in wood. I am sure you can work out how it is done!

