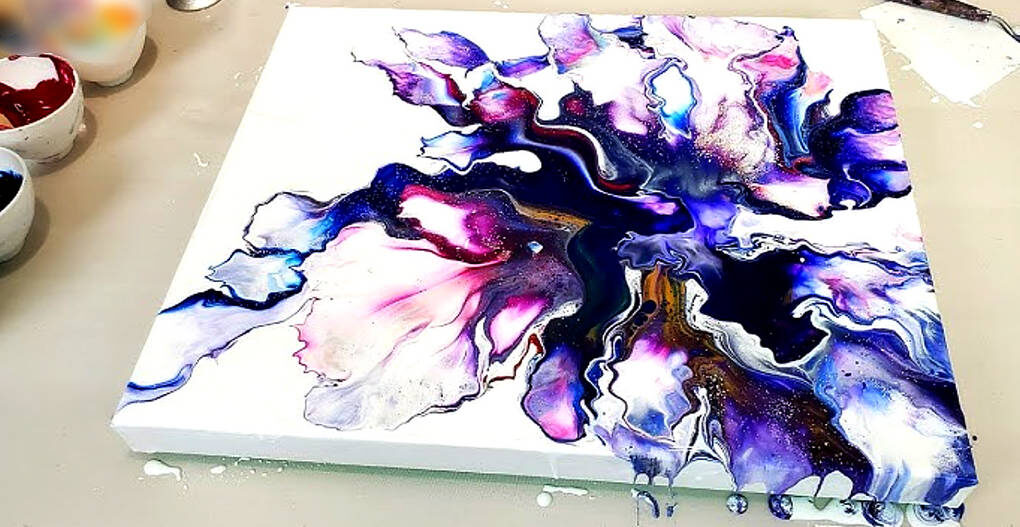
Creating art using resin opens up endless possibilities. Today, I’ll walk you through a vibrant Dutch pour using resin on a 12×12 wood panel. This project stands out for its bold, eye-catching colors and how resin transforms traditional Dutch pour techniques into something extraordinary. Whether you’re a beginner or a seasoned artist, there’s plenty to take away from this method.
Preparing Your Workspace and Materials
Before starting, proper preparation is key. Here’s what I used for this piece:
- 12” x 12” wood panel: I chose wood for a sturdy, firm surface.
- Stone Coat Countertop Art Coat Resin: For the glossy, durable finish resin is known for.
- Stone Coat White Base Tint: Used for the flood coat and to create contrast.
- Colors: Scarlet red, Prussian blue, fuchsia pink, lime green, and gold.
I started by masking the back of the panel to keep it clean and primed the wood with a base layer. This ensures a smooth surface for the resin application.
Creating the Flood Coat
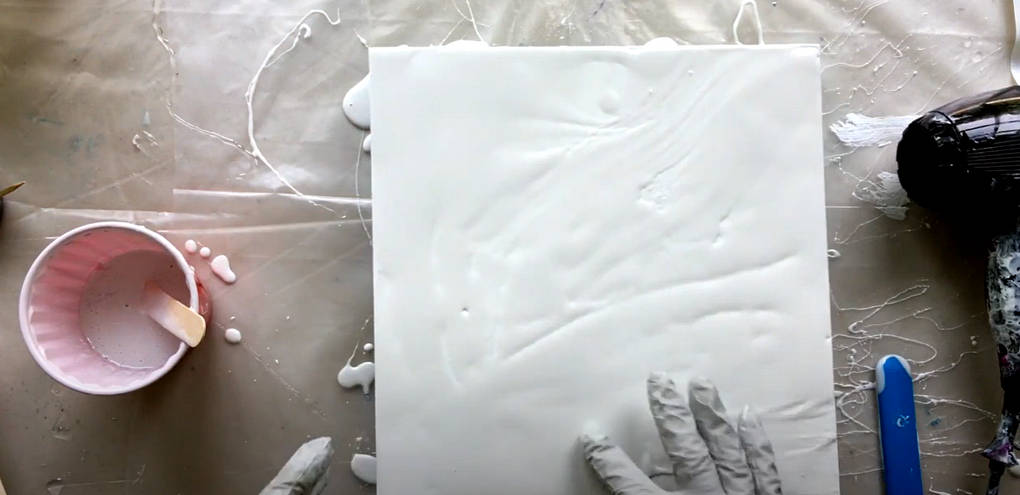
The flood coat is the first step in many resin pours, and this piece is no different. I used the white resin as my base, pouring it evenly across the panel. Then, I used a hairdryer to help it flow over the edges and cover the sides. This gives the painting a polished look, even on the edges, and prepares the surface for the brilliant colors to come.
Choosing Vibrant Tinted Resin
In previous projects, I used pastel tones, keeping the colors muted. This time, I wanted something bold and energetic. To achieve this, I mixed acrylic paint with resin, ensuring the resin remained fluid while achieving bright, intense hues. My unmissable color palette included scarlet red, Prussian blue, fuchsia pink, lime green, and a touch of gold for added depth and shimmer.
Applying the Dutch Pour Technique
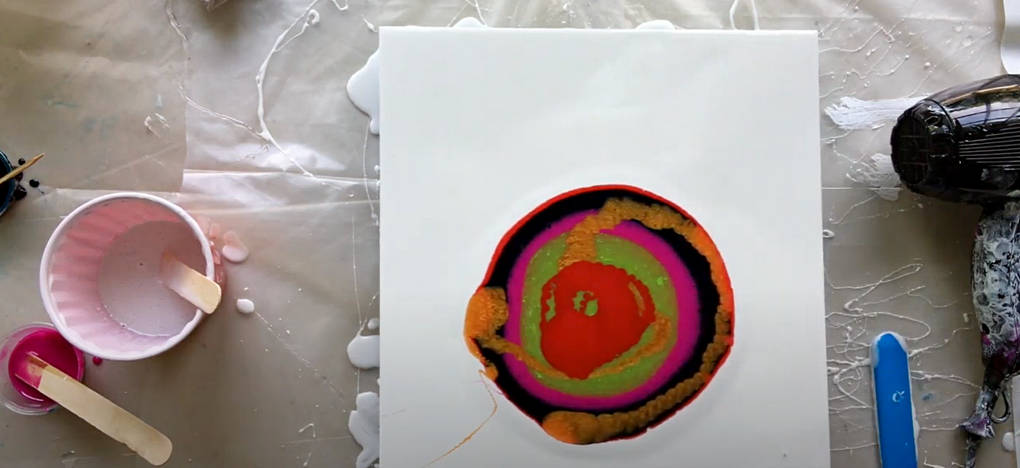
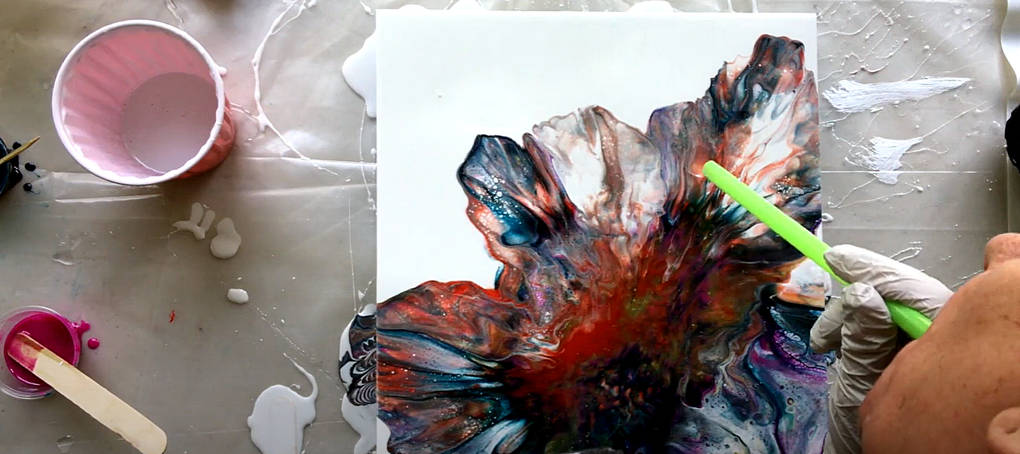
Layering the colors was the exciting part. I began with scarlet red in the center, adding generous amounts for a striking focal point. Around it, I poured Prussian blue, fuchsia, lime green, and splashes of gold. Watching contrasting colors come to life is always inspiring!
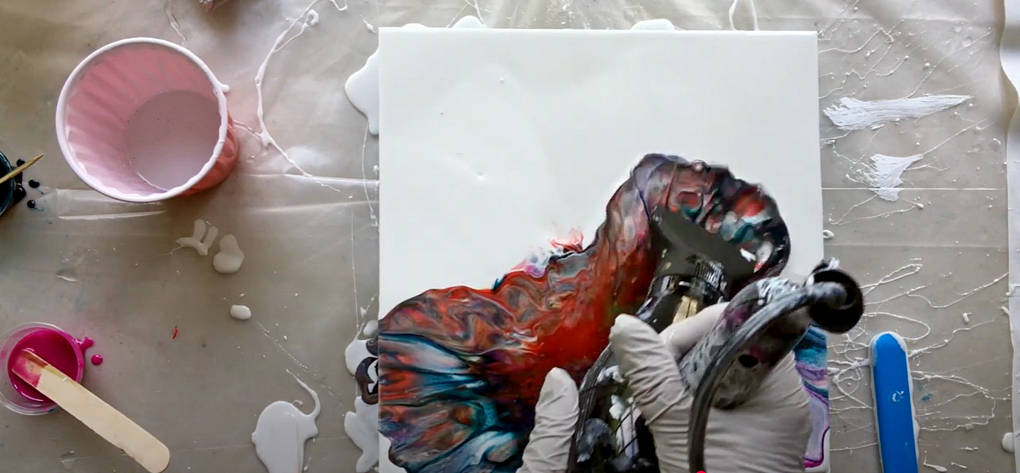
After layering the colors, I used a heat gun to help the resin level out and remove bubbles. Then, it was time to use the hairdryer for the signature Dutch pour effect. I directed the air outward from the center, pushing the colors into beautiful, organic shapes. The way the red and blue intertwined to create new shades was mesmerizing.

Fine-Tuning the Details
Once the main design was in place, it was time to focus on details. I used a straw to blow through smaller sections, refining edges and enhancing the flow. Little touches like this make a big difference, bringing movement and harmony to the final piece.
The Stunning Results
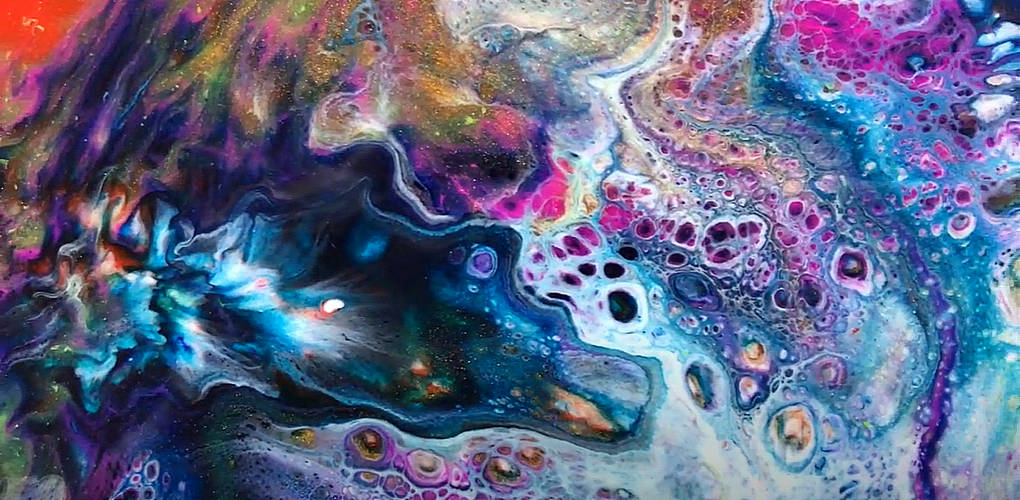
The finished painting was bursting with life. The vibrant colors danced together, creating dramatic contrasts and subtle gradients. The red added a fiery energy, while the blue and gold balanced it all with elegance. Up close, the details were even more striking, with unique cell formations and sparkling metallic accents.
Why Try a Dutch Pour With Resin?
Using resin for a Dutch pour offers a fresh twist on this popular technique. The high-gloss finish, fluid textures, and ability to embed vibrant pigments make resin an excellent choice for artists. If you’re ready to try something new, this technique is worth exploring.
You may also be interested in these other resin techniques.
Wrap-Up and Final Thoughts
This project proved how resin and bold colors can take the Dutch pour technique to a whole new level. The possibilities are endless, and experimenting with different color palettes, tools, or surfaces can lead to incredible results. If you’re feeling inspired, gather your materials and give it a try. You might just discover a new favorite way to create!
Questions and Answers on Dutch Pour Resin Art and Related Forms
- How does the Dutch pour technique differ from acrylic pouring?
Answer:
The Dutch pour technique involves using airflow (via a hairdryer, straw, or compressed air) to spread resin or paint, creating smooth transitions and airy patterns. Acrylic pouring, on the other hand, uses various methods like “flip cup” or “puddle pour,” where paint flows due to gravity, resulting in thicker, more saturated designs. - How does Dutch pour compare to other pouring methods?
Answer:
Dutch pour focuses on thin layers and delicate color transitions, unlike “dirty pour,” where paints are mixed in a single container to produce chaotic and vibrant effects. In “ring pour,” paints are poured in concentric rings, creating entirely different patterns. - Can Dutch pour be combined with other resin techniques?
Answer:
Yes, Dutch pour can be combined with other resin techniques like embedding objects, adding layers of glitter, or creating textures with additives. This combination enhances depth and adds unique elements to the artwork. - How can mixed media enhance Dutch pour resin art?
Answer:
Mixed media, such as incorporating ink, metallic powders, or dried flowers, can elevate Dutch pour resin art. These materials introduce new textures, contrast, and focal points, making the artwork more dynamic and visually captivating. - What effects can be achieved by using metallics and glitter in Dutch pour resin art?
Answer:
Metallic pigments and glitter can create shimmering, reflective surfaces, adding depth and a luxurious feel to Dutch pour designs. They also enhance the fluid motion of the patterns, making the artwork stand out under different lighting conditions.

